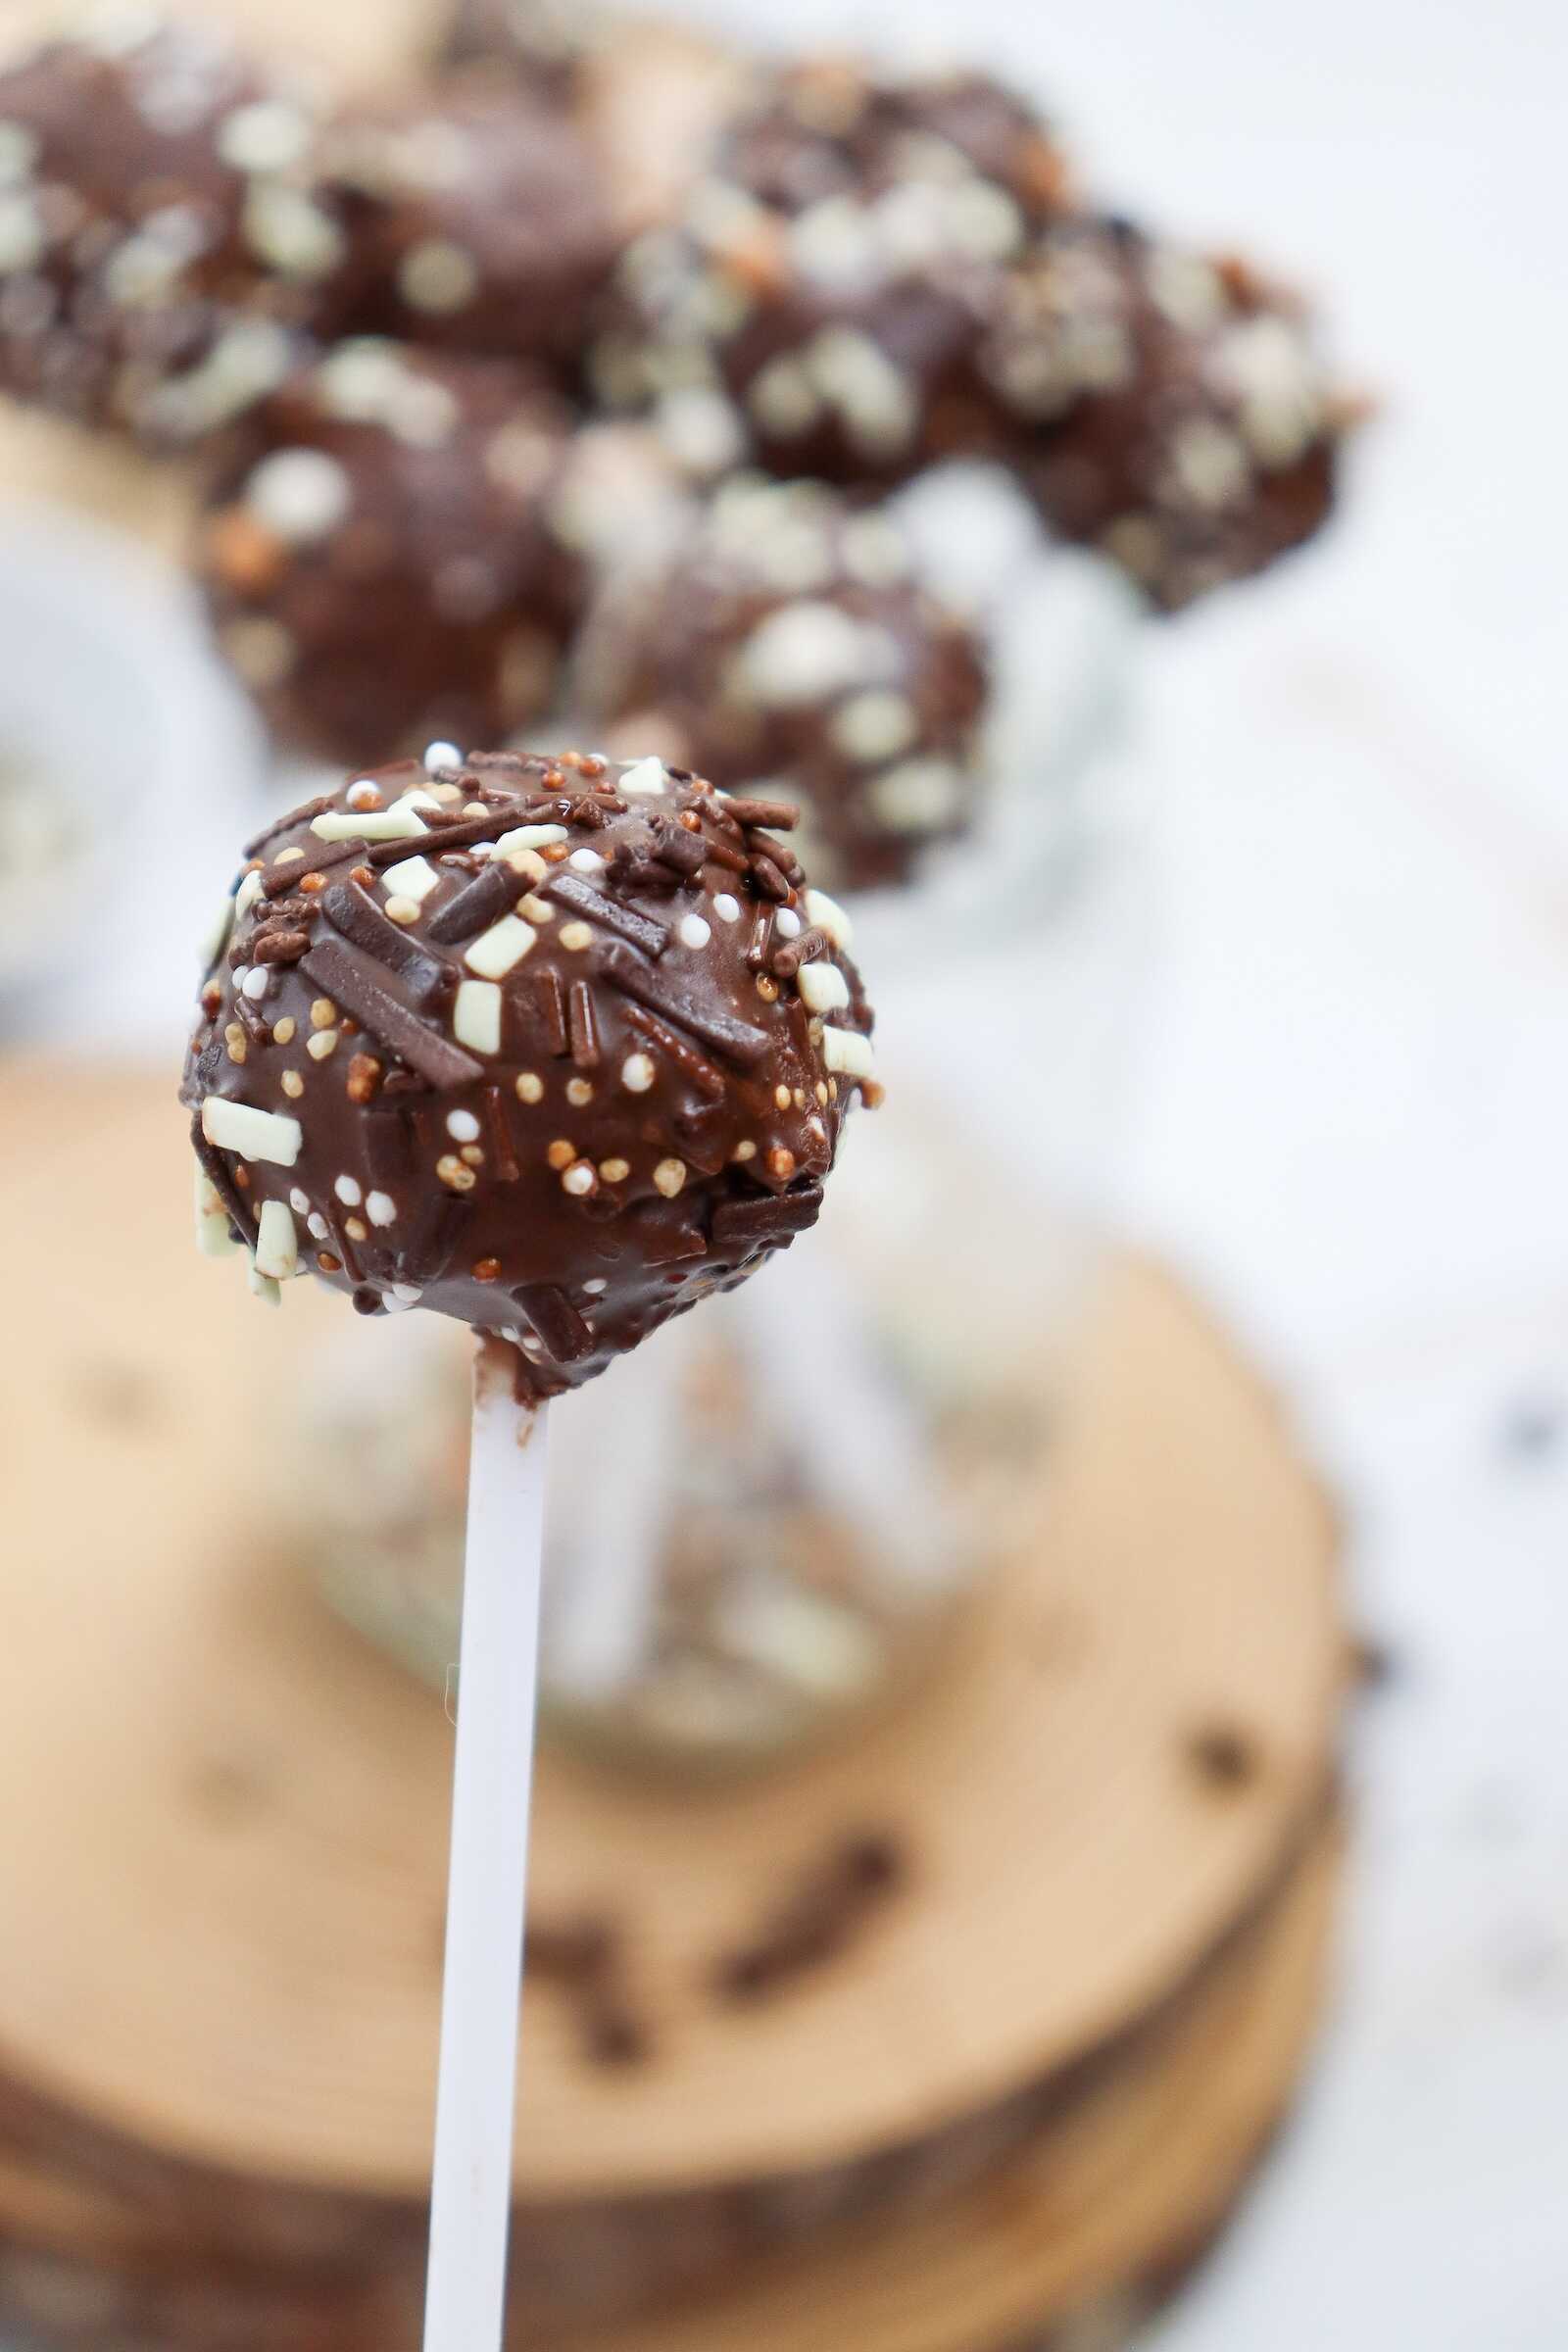
Chocolate and Sprinkles Cake Pops Recipe – Easy, Fun and Perfect for Parties!
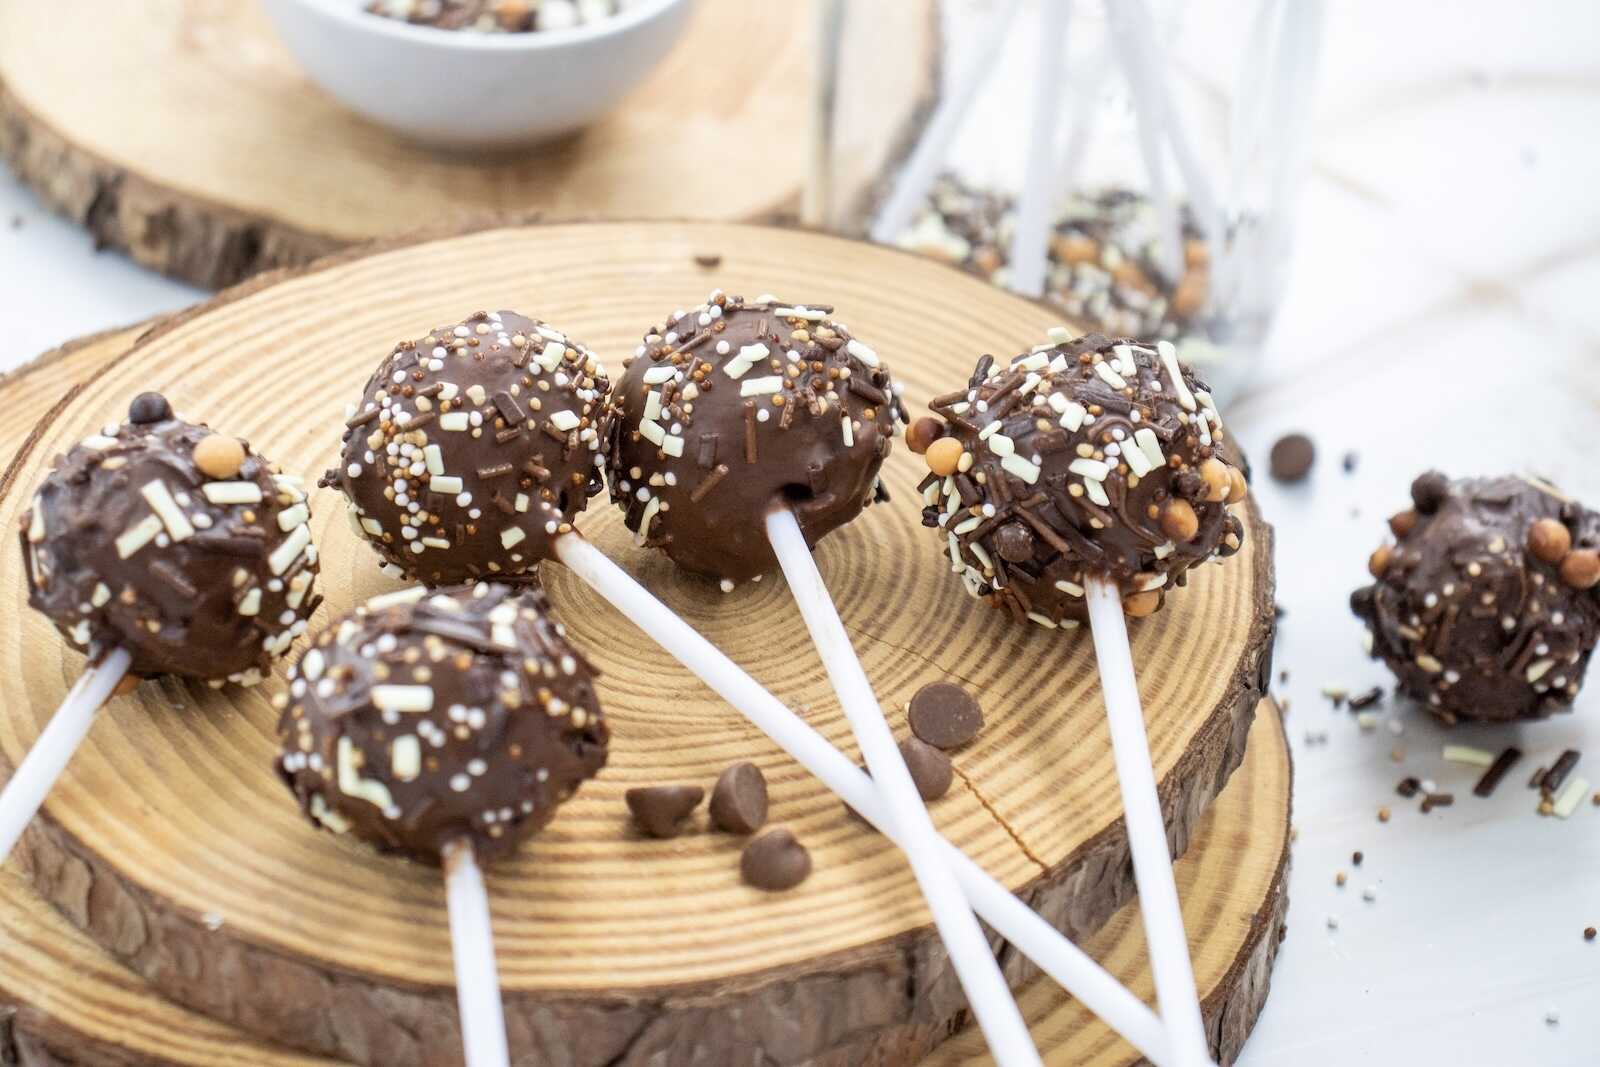
Cake pops are one of those magical little desserts that feel instantly festive the moment you pick one up. They’re cute, colorful, portable, and the perfect two-bite treat for birthdays, holidays, baby showers, classroom events, bake sales, or simply a fun afternoon baking project with your kids. If you love chocolate and sprinkles—and who doesn’t?—this Chocolate Chip and Sprinkles Cake Pops Recipe is about to become your new go-to sweet treat.
Made using a simple boxed cake mix, a little Betty Crocker frosting, melted chocolate, and your favorite sprinkles, these cake pops are wonderfully customizable and incredibly fun to make. Even better? You don’t need any special cake pop appliances. Just your oven, a bowl, some lollipop sticks, and a bit of creativity.
Whether you’re prepping for a party or want a cheerful treat that brightens your dessert table, this detailed guide walks you through every step—from baking the cake to creating perfectly round cake balls to dipping and decorating like a pro.
Table of Contents
Why You’ll Love These Cake Pops
Cake pops are adorable, but they’re also incredibly practical. Here’s what makes this recipe a keeper:
Simple Ingredients
A boxed cake mix and a half cup of frosting are all you need for the base. Add chocolate chips or candy melts plus sprinkles, and you’re good to go.
Kid-Friendly and Fun to Decorate
Little hands love helping sprinkle and swirl the chocolate coating. It’s a perfect weekend kitchen project.
Party-Perfect Presentation
Cake pops look expensive and fancy, but they’re surprisingly budget-friendly.
Customizable for Any Occasion
Birthday colors? Pastel baby shower theme? Holiday sprinkles? Rainbow everything? You can change the look in seconds.
Freezer-Friendly
Make ahead and freeze the cake balls, then dip the day before your event.

Ingredients (Makes 12–16 Cake Pops)
- 1 box of cake mix (any flavor—vanilla, chocolate, red velvet, funfetti, or even lemon)
- Ingredients listed on the box (typically eggs, water, and oil)
- ½ cup Betty Crocker frosting (vanilla, chocolate, cream cheese, or funfetti)
- 1 cup chocolate chips
(Melting chocolate wafers or candy melts may also be used for smoother coating.) - Sprinkles (any variety—jimmies, sugar pearls, nonpareils, holiday blends)
- Lollipop sticks
- Styrofoam block or cake pop stand (for upright drying)
How to Make Chocolate Chip and Sprinkles Cake Pops
Below is a detailed, easy-to-follow guide using your provided steps, expanded with pro tips, troubleshooting advice, and flavor variation ideas.
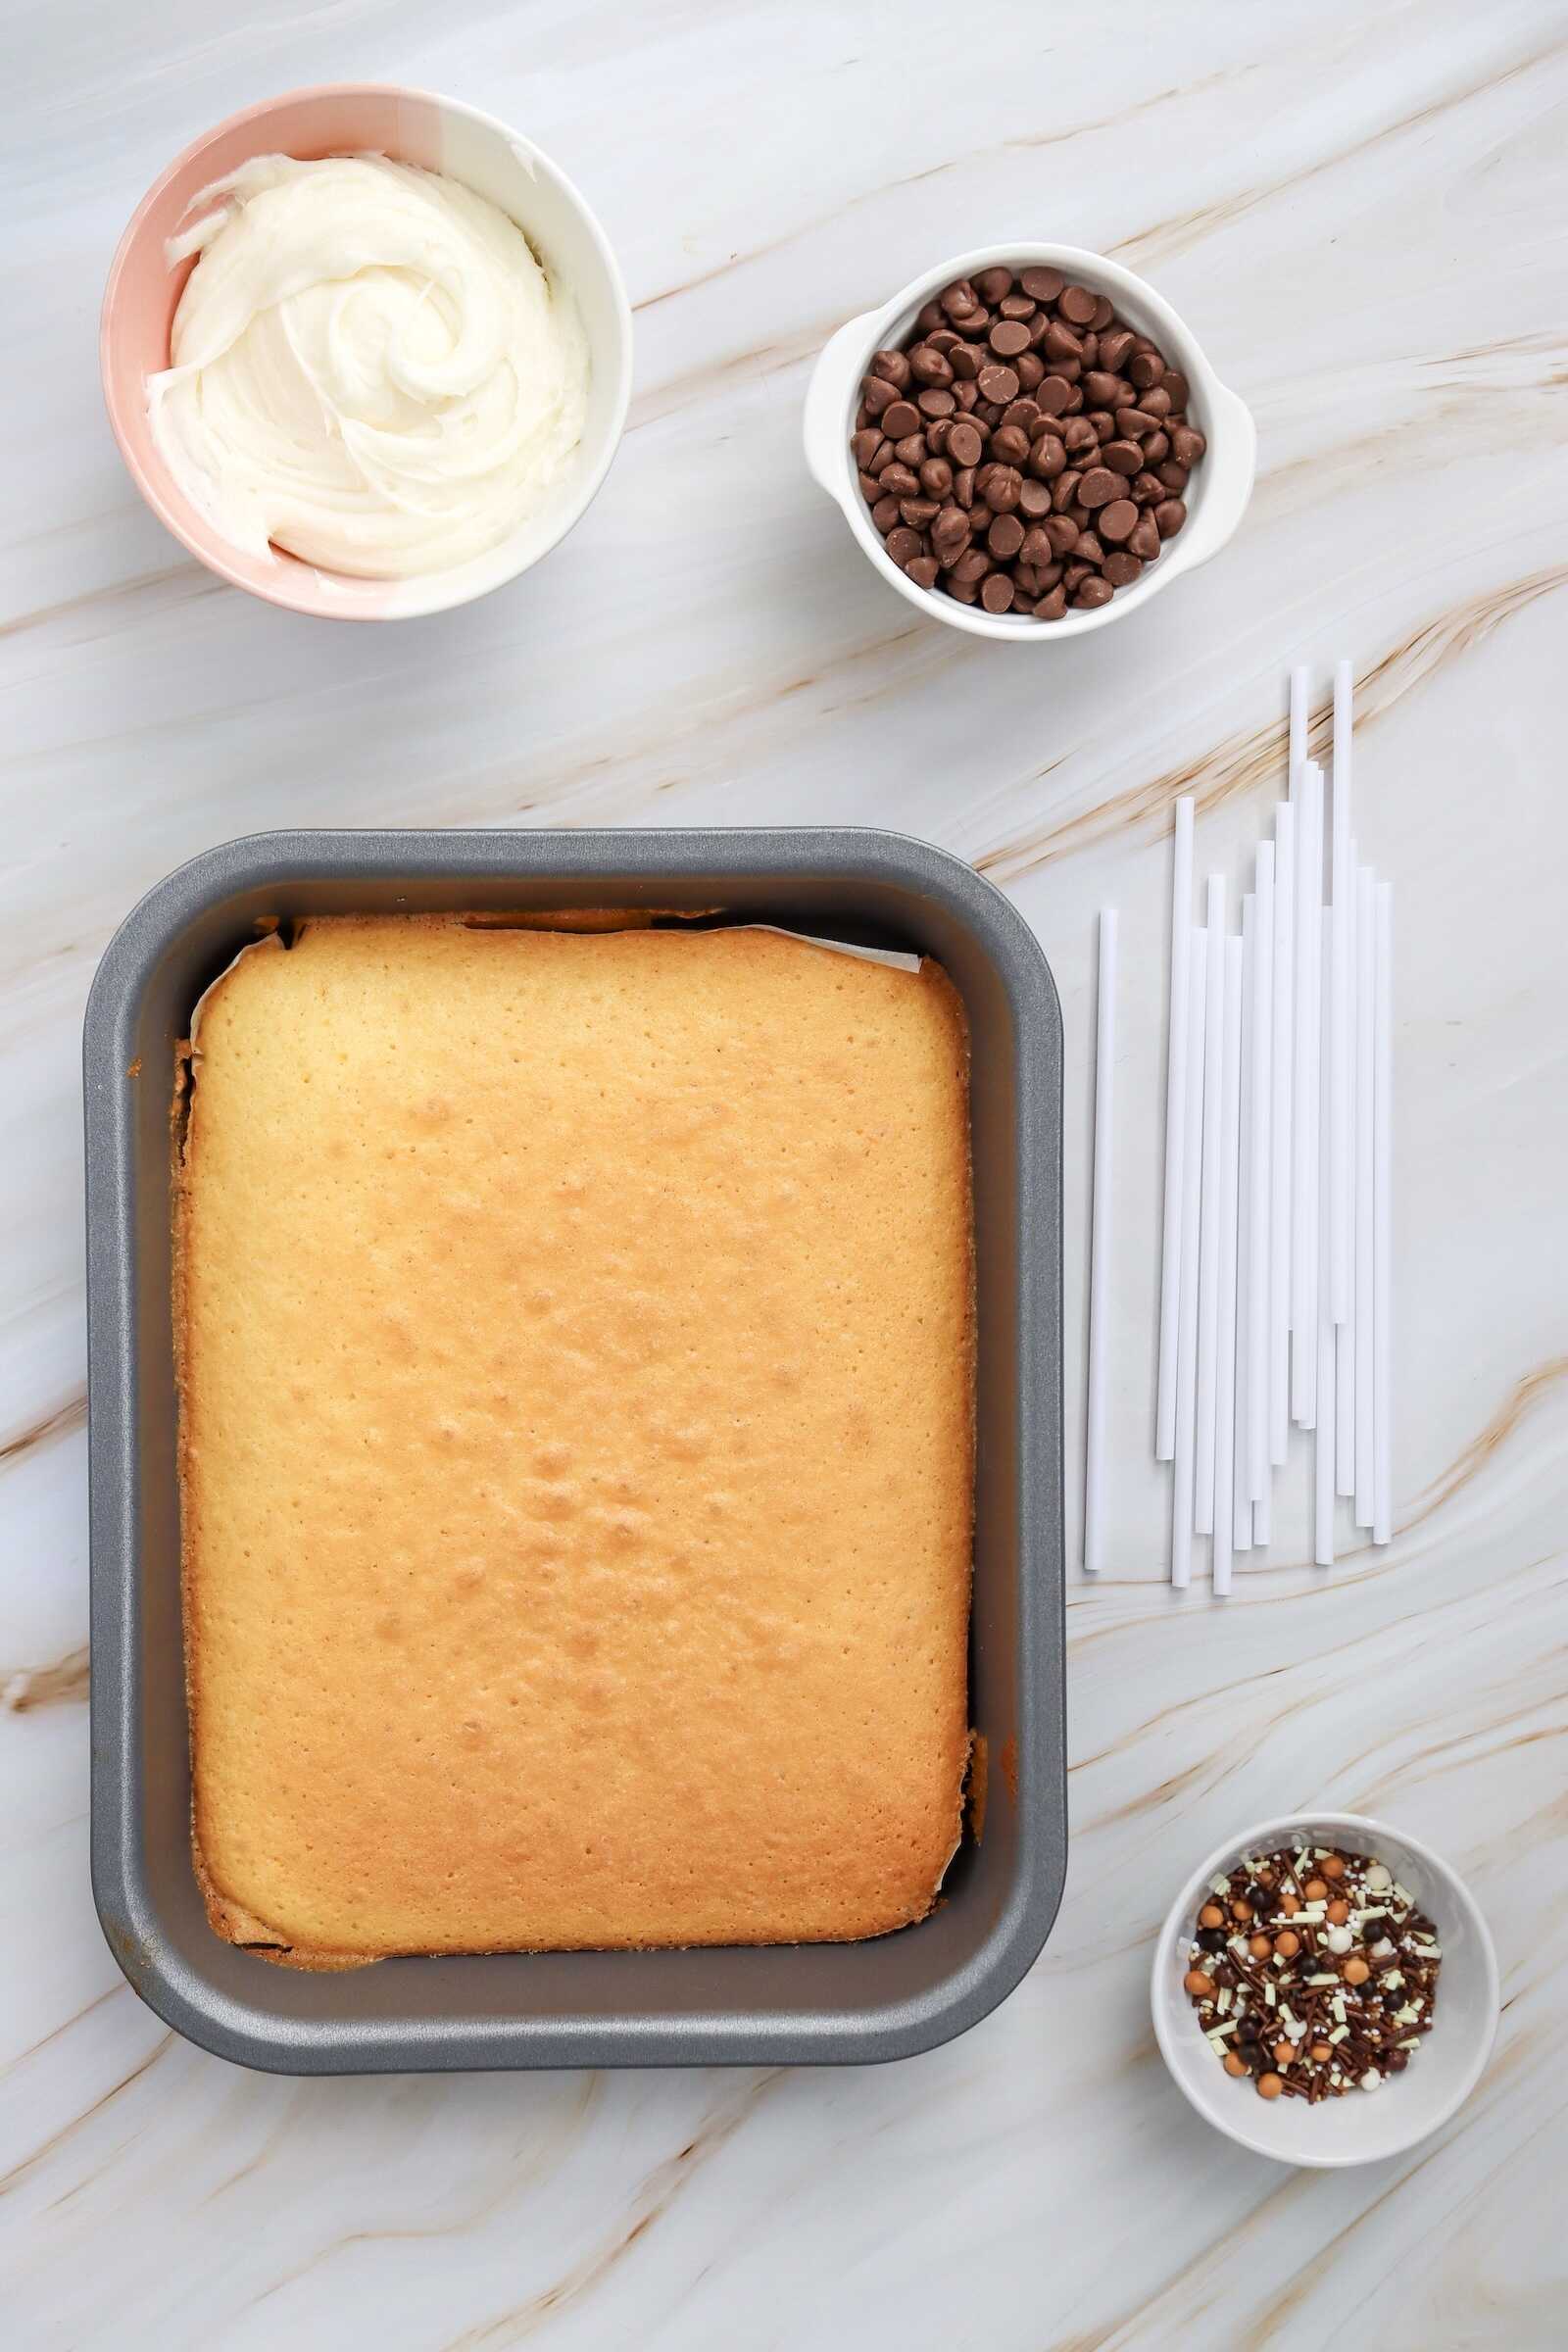
1. Bake the Cake
- Preheat your oven according to the directions listed on the cake mix box.
- Prepare the batter as directed—usually combining the cake mix with eggs, oil, and water.
- Grease a baking pan (9×13 works perfectly).
- Pour the batter evenly into the pan and bake for the time specified, typically 25–30 minutes.
- When the cake is finished, it should be springy to the touch and a toothpick inserted in the center should come out clean.
- Allow the cake to cool completely—this is key. Warm cake will melt the frosting and create a sticky mess instead of firm cake balls.
Pro Tip:
Bake the cake a day ahead to save time. Once cooled, keep it wrapped and refrigerated until you’re ready to crumble.
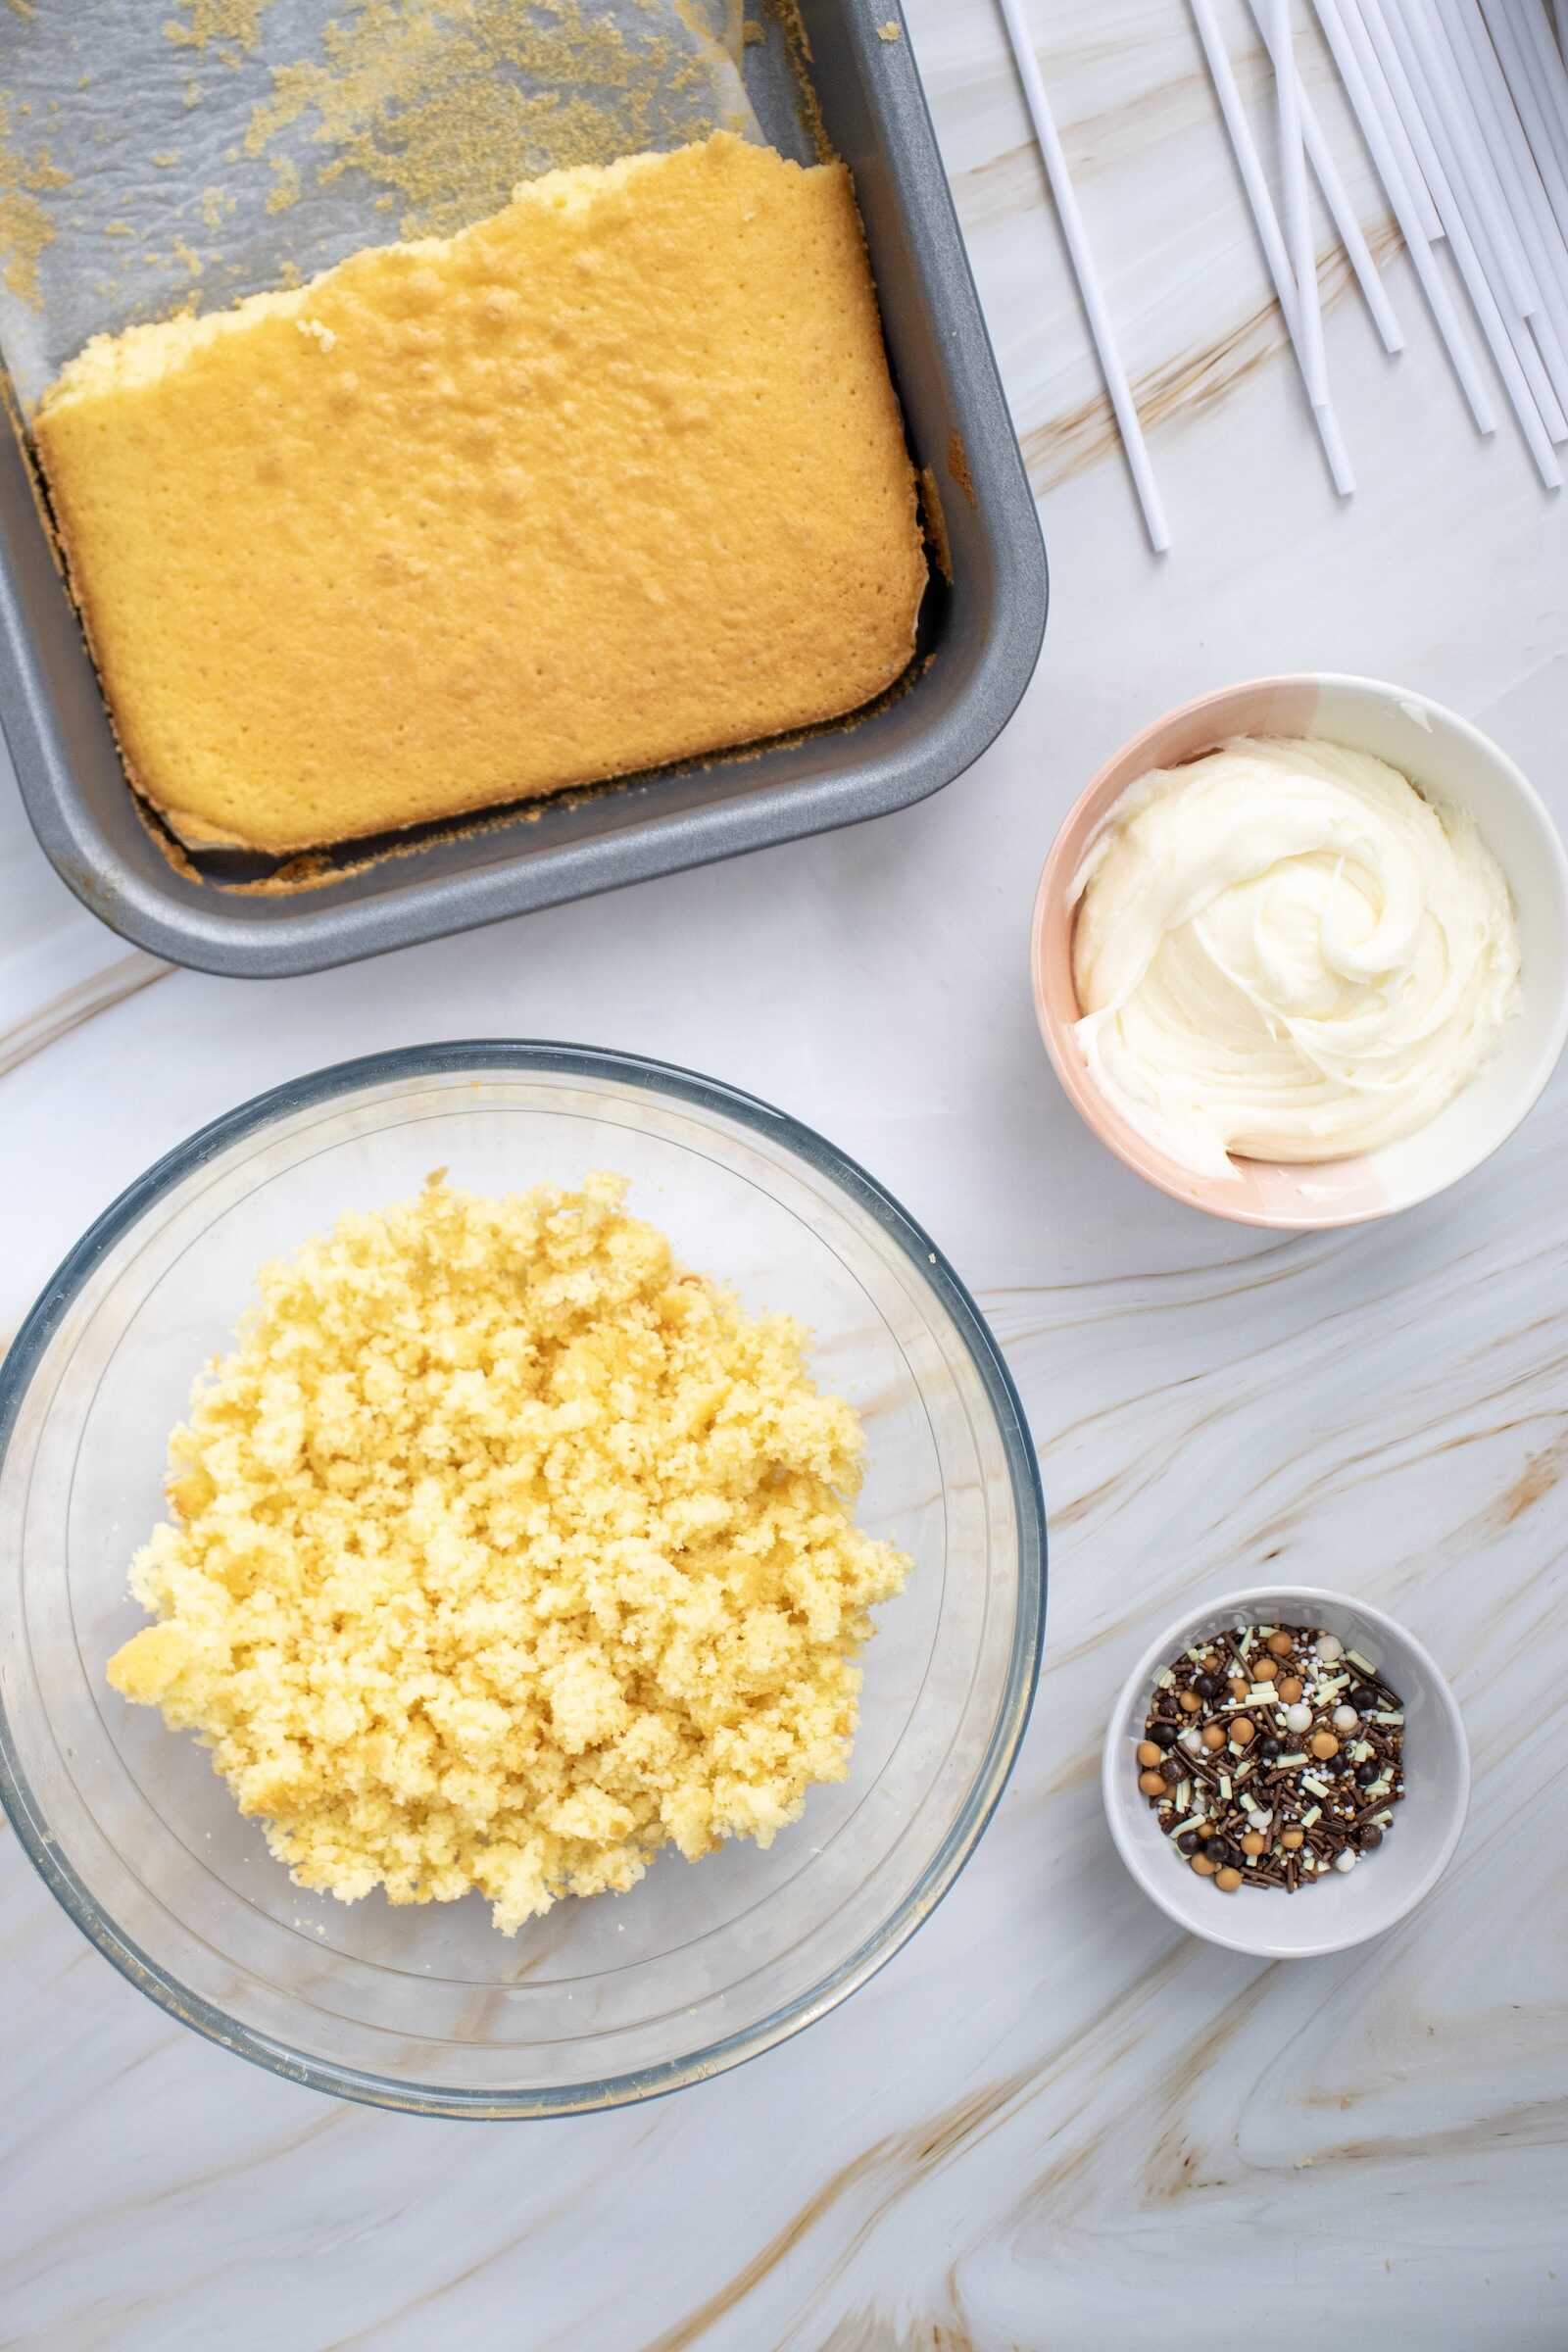
2. Crumb the Cake
Once your cake is cooled:
- Break it apart with clean hands or use a fork to crumble.
- Continue crumbling until the texture resembles fine, even crumbs—almost like sand.
Texture Check:
If you feel larger chunks, break them down. Smooth crumbs = smoother cake pops!
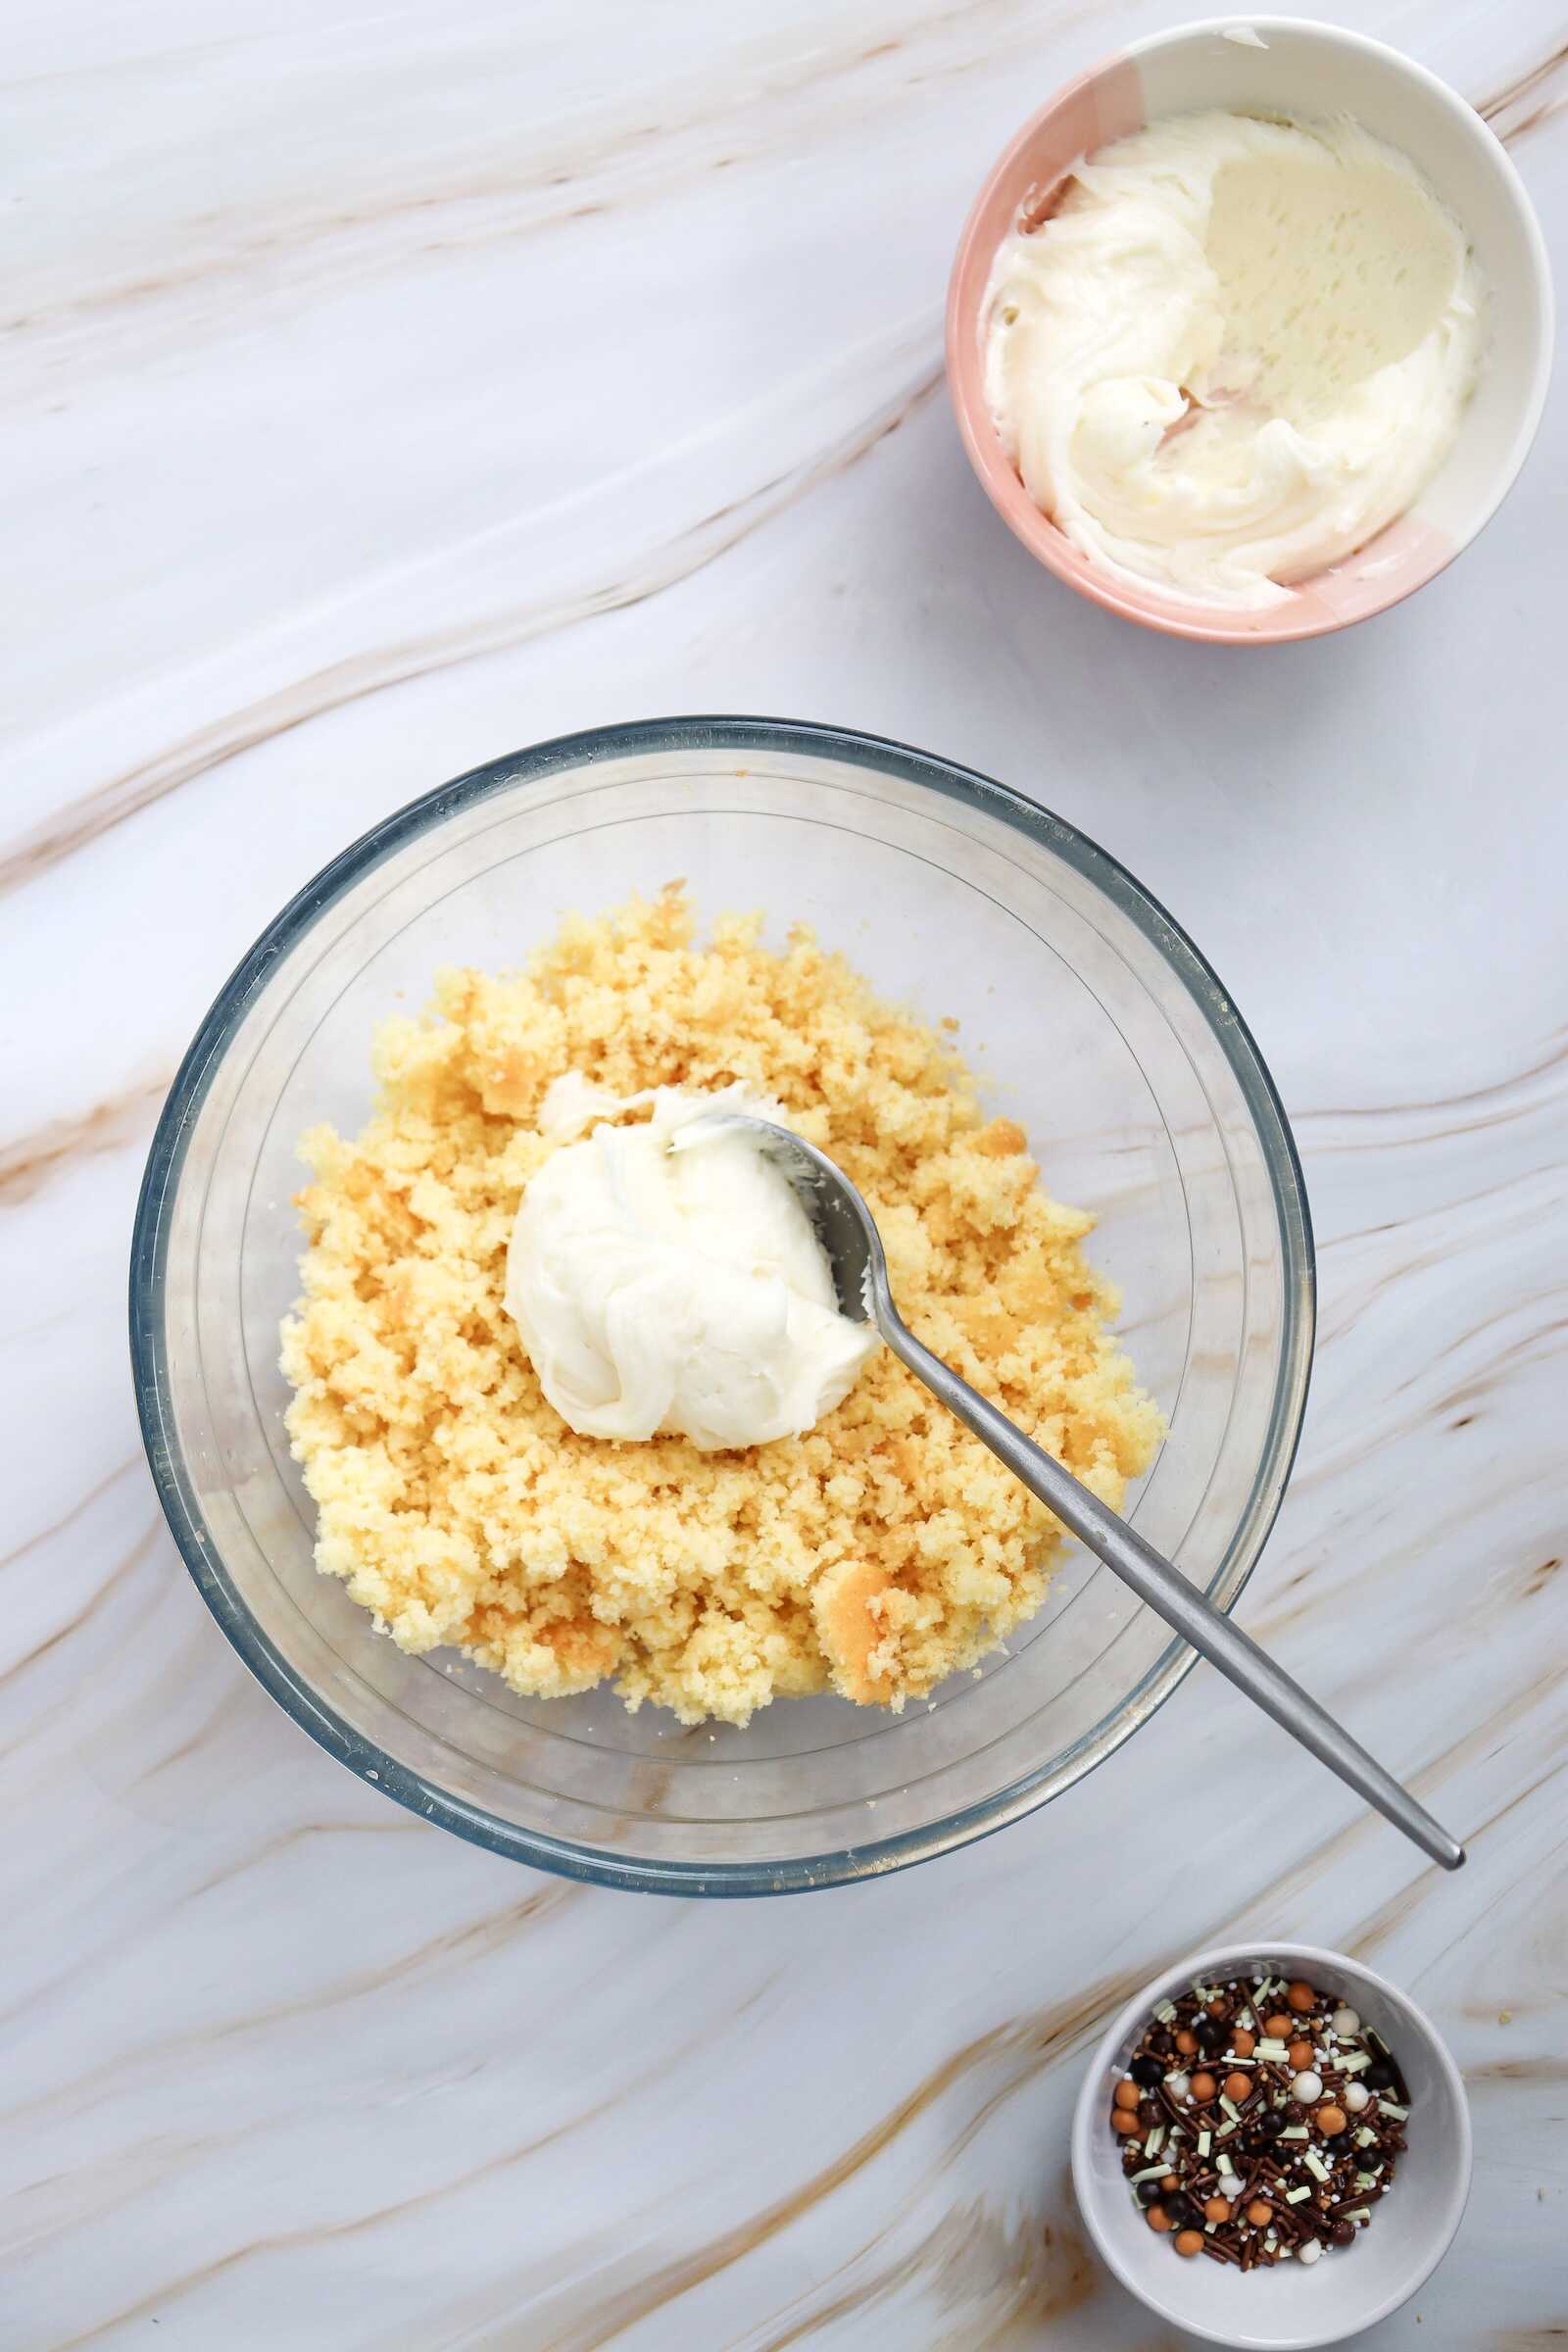
3. Mix with Frosting
- Start by adding ½ cup of frosting to the bowl of cake crumbs.
- Mix thoroughly using a spoon or your hands.
- The mixture should be moist enough to hold together when pressed, but not overly sticky.
Adjust as Needed:
Different cake flavors and moisture levels may require a bit more frosting. Add small spoonfuls at a time—too much frosting makes mushy cake pops that slide off the stick.
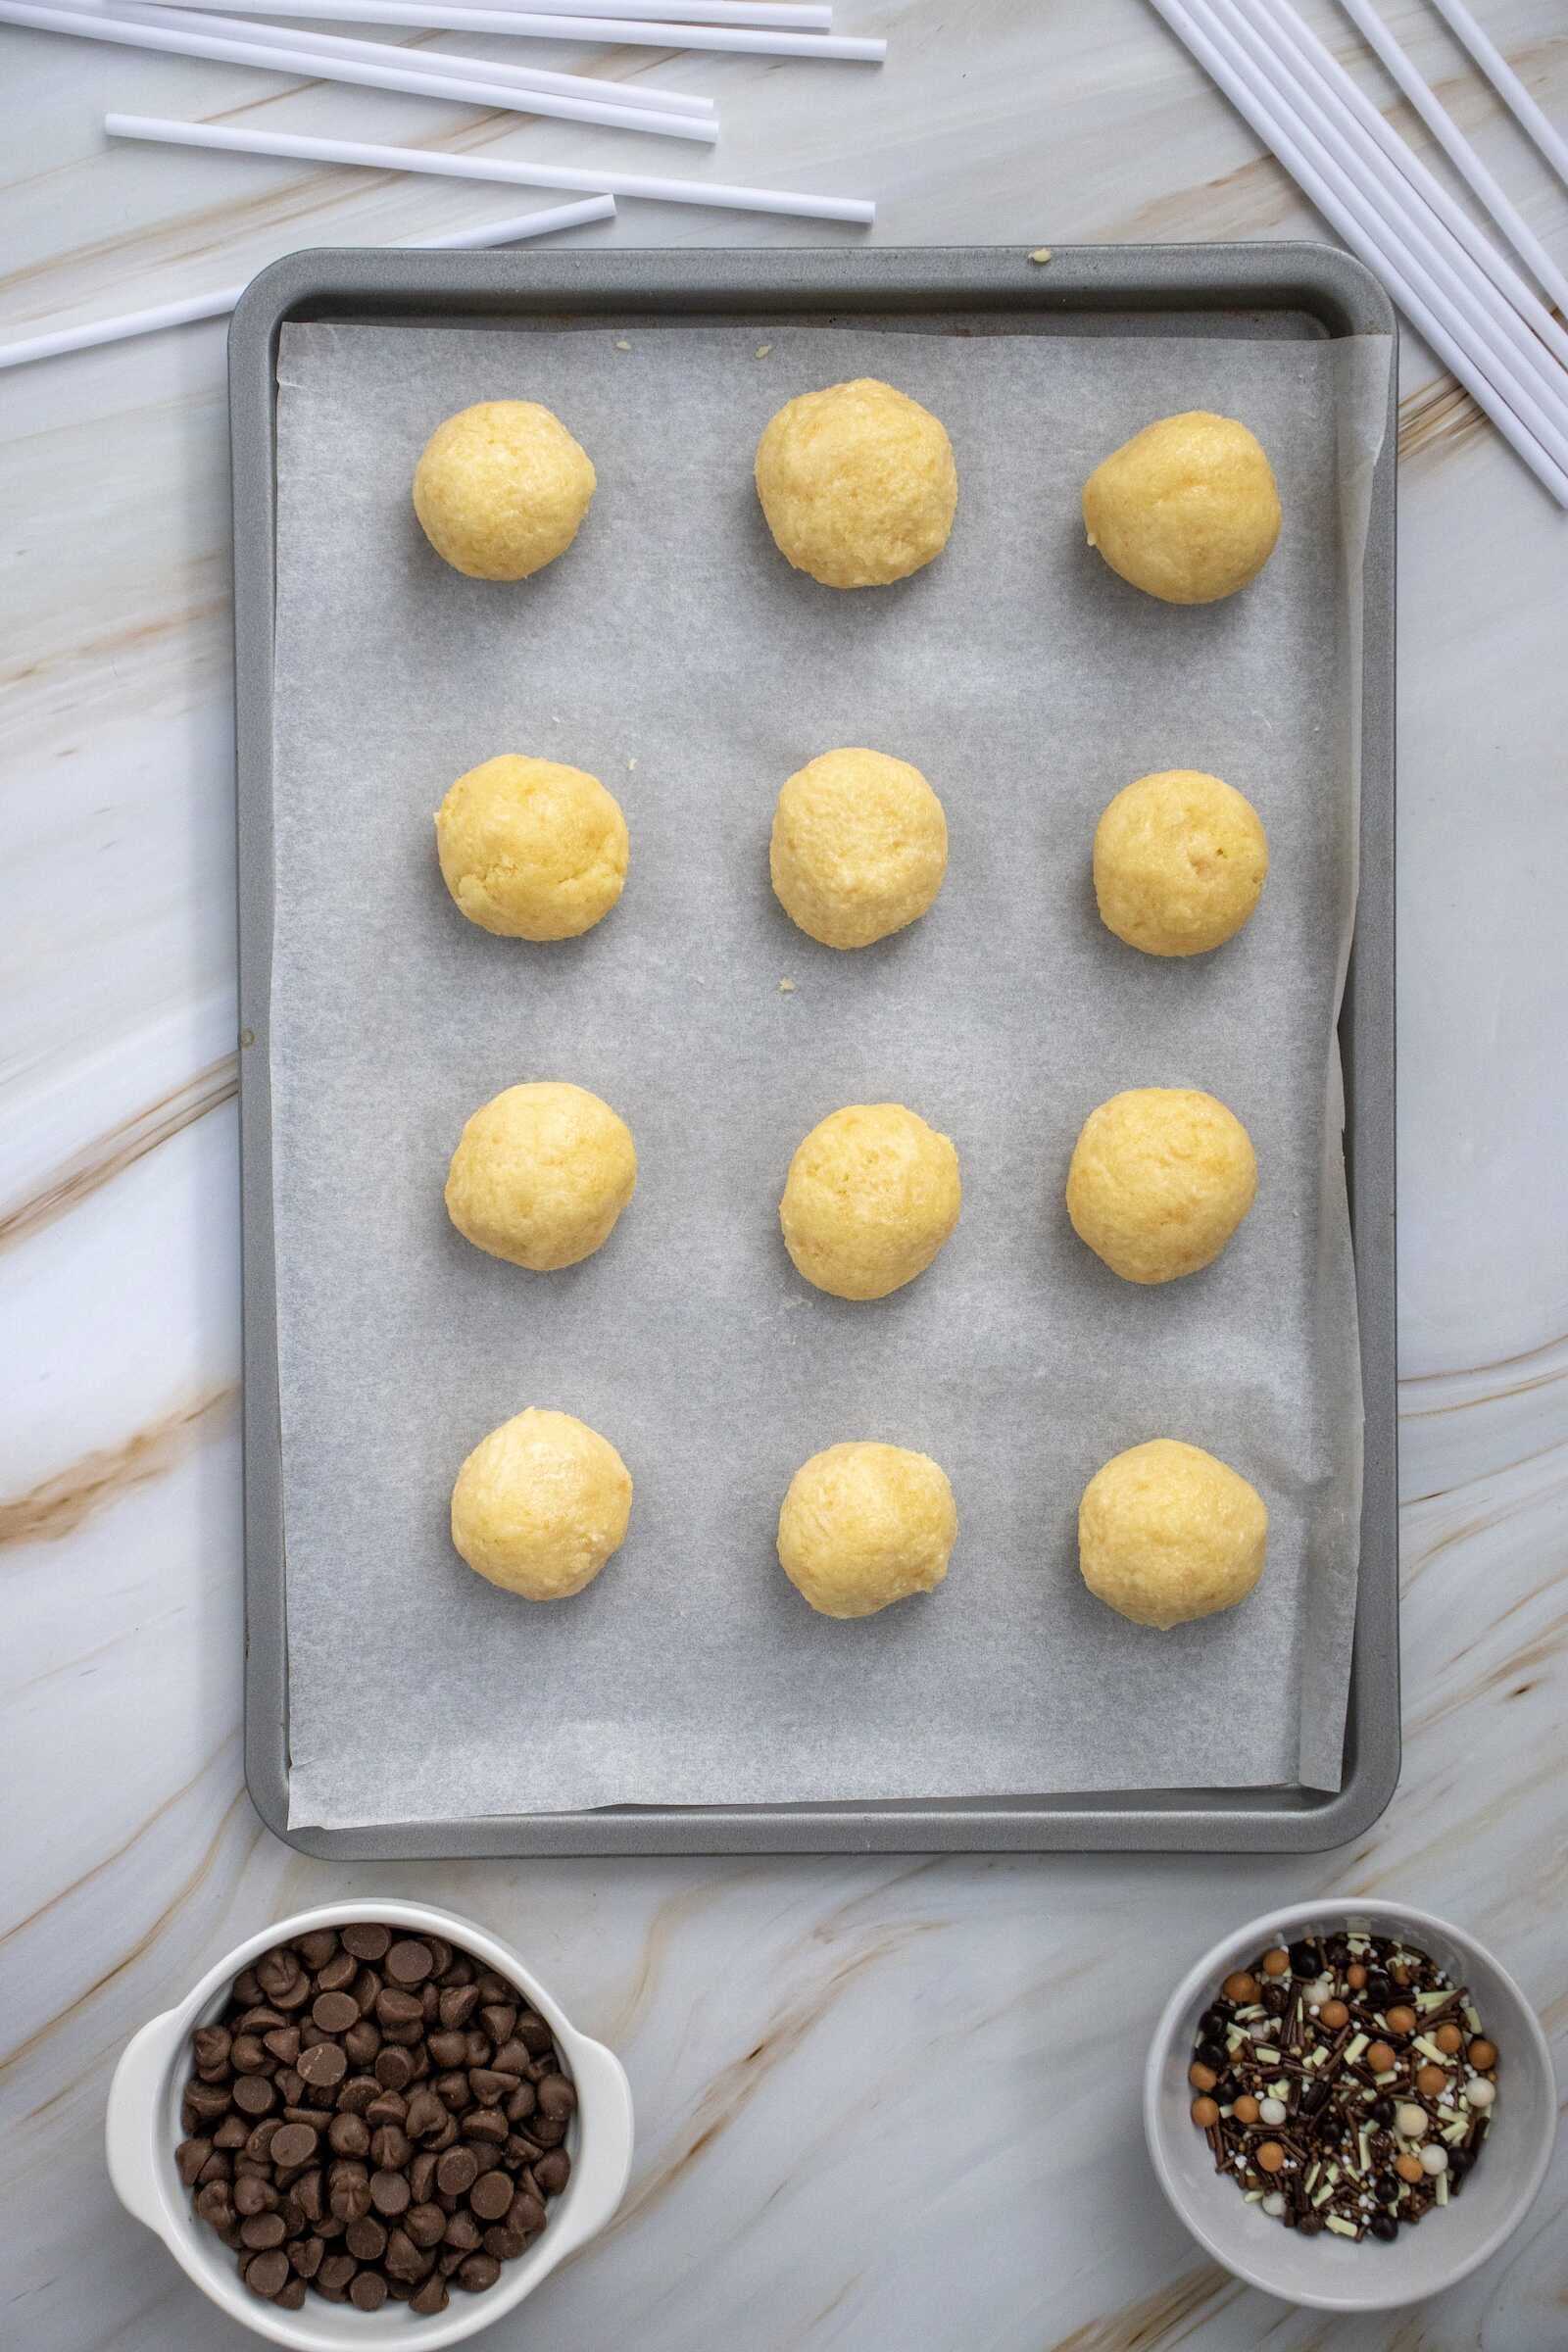
4. Form Cake Balls
- Scoop about 1 tablespoon of cake mixture.
- Roll between your palms to form a smooth ball.
- Place rolled balls onto a parchment-lined baking sheet.
- Continue until you’ve used all the mixture. You should end up with 12–16 cake pops, depending on size.
Tip for Uniform Shapes:
Use a cookie scoop to keep all your cake balls the same size—this helps them dip evenly.
5. Chill the Cake Balls
Place the baking sheet of cake balls in the refrigerator for 30 minutes to 1 hour.
Chilling helps the cake set and prevents crumbling during the dipping process.
Shortcut Option:
Pop them in the freezer for 15–20 minutes if you’re short on time, but don’t let them freeze solid.
6. Melt the Chocolate
While the cake balls chill:
- Add 1 cup of chocolate chips to a microwave-safe bowl.
- Microwave in 30-second intervals, stirring between each.
- Heat until smooth and glossy.
For Smoother Dipping Chocolate:
Add ½ teaspoon of coconut oil or shortening. This helps the melted chocolate flow beautifully.
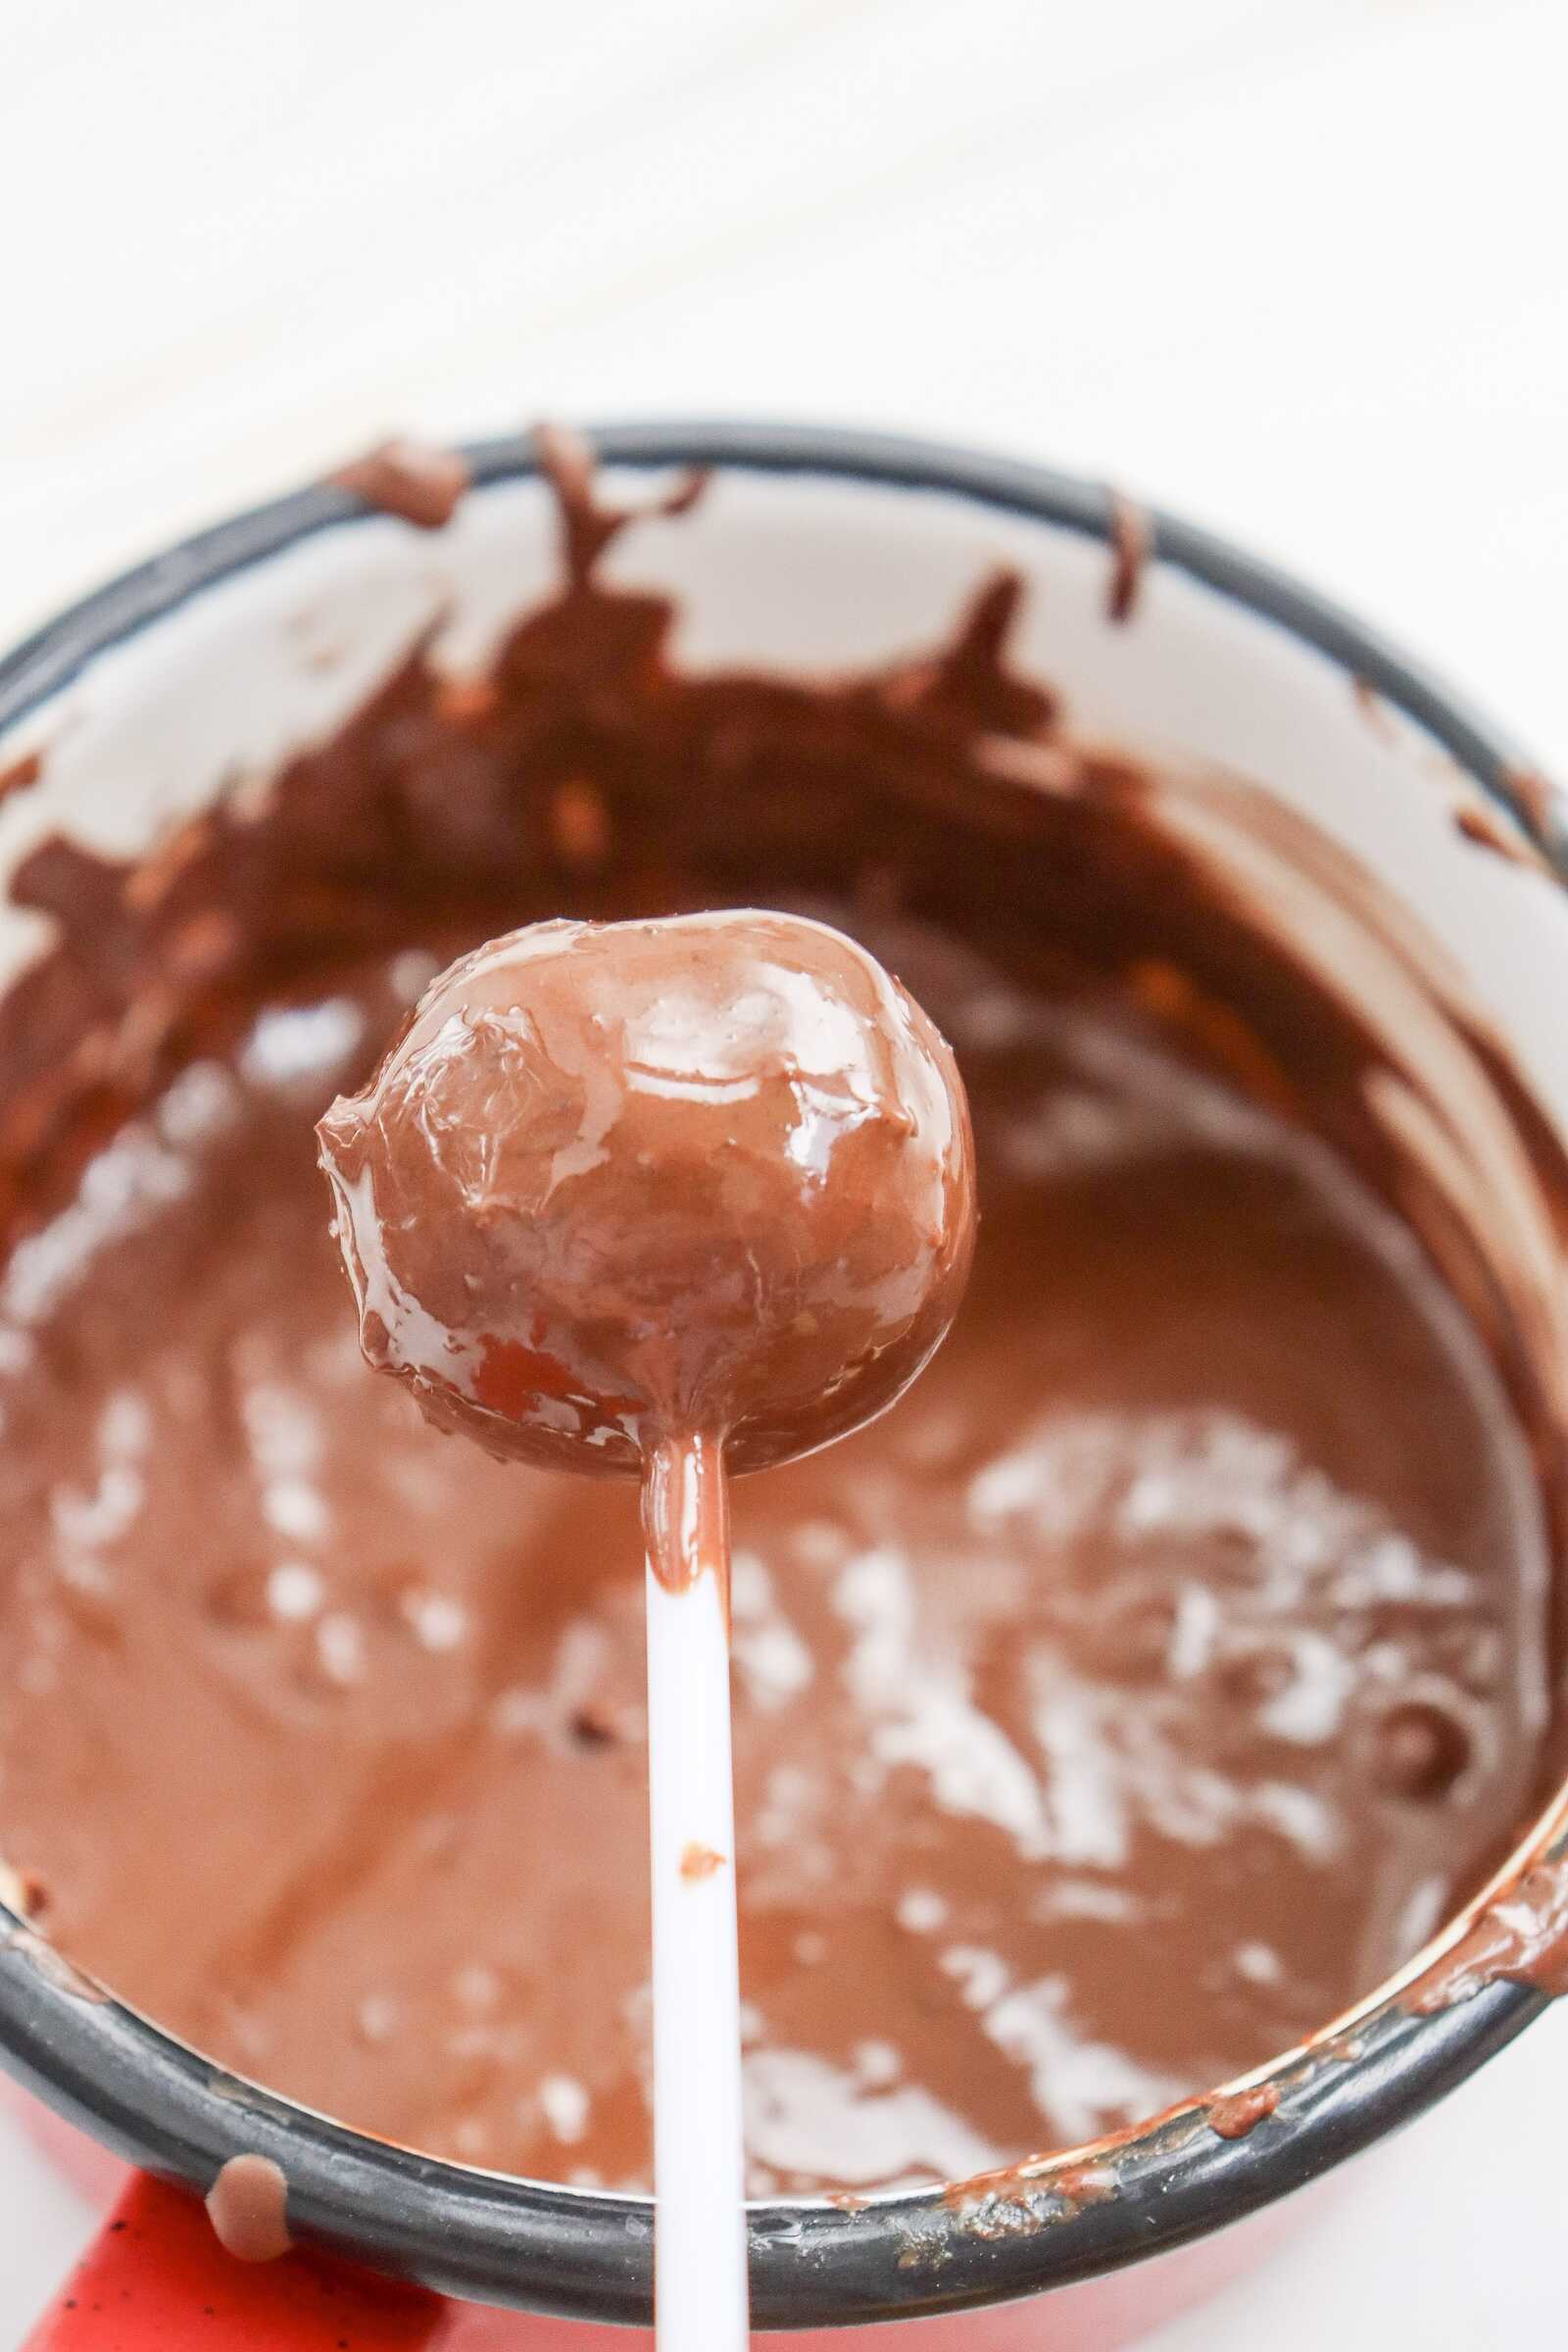
7. Dip the Cake Pops
This is where the fun—and the magic—happens.
- Remove the chilled cake balls from the fridge.
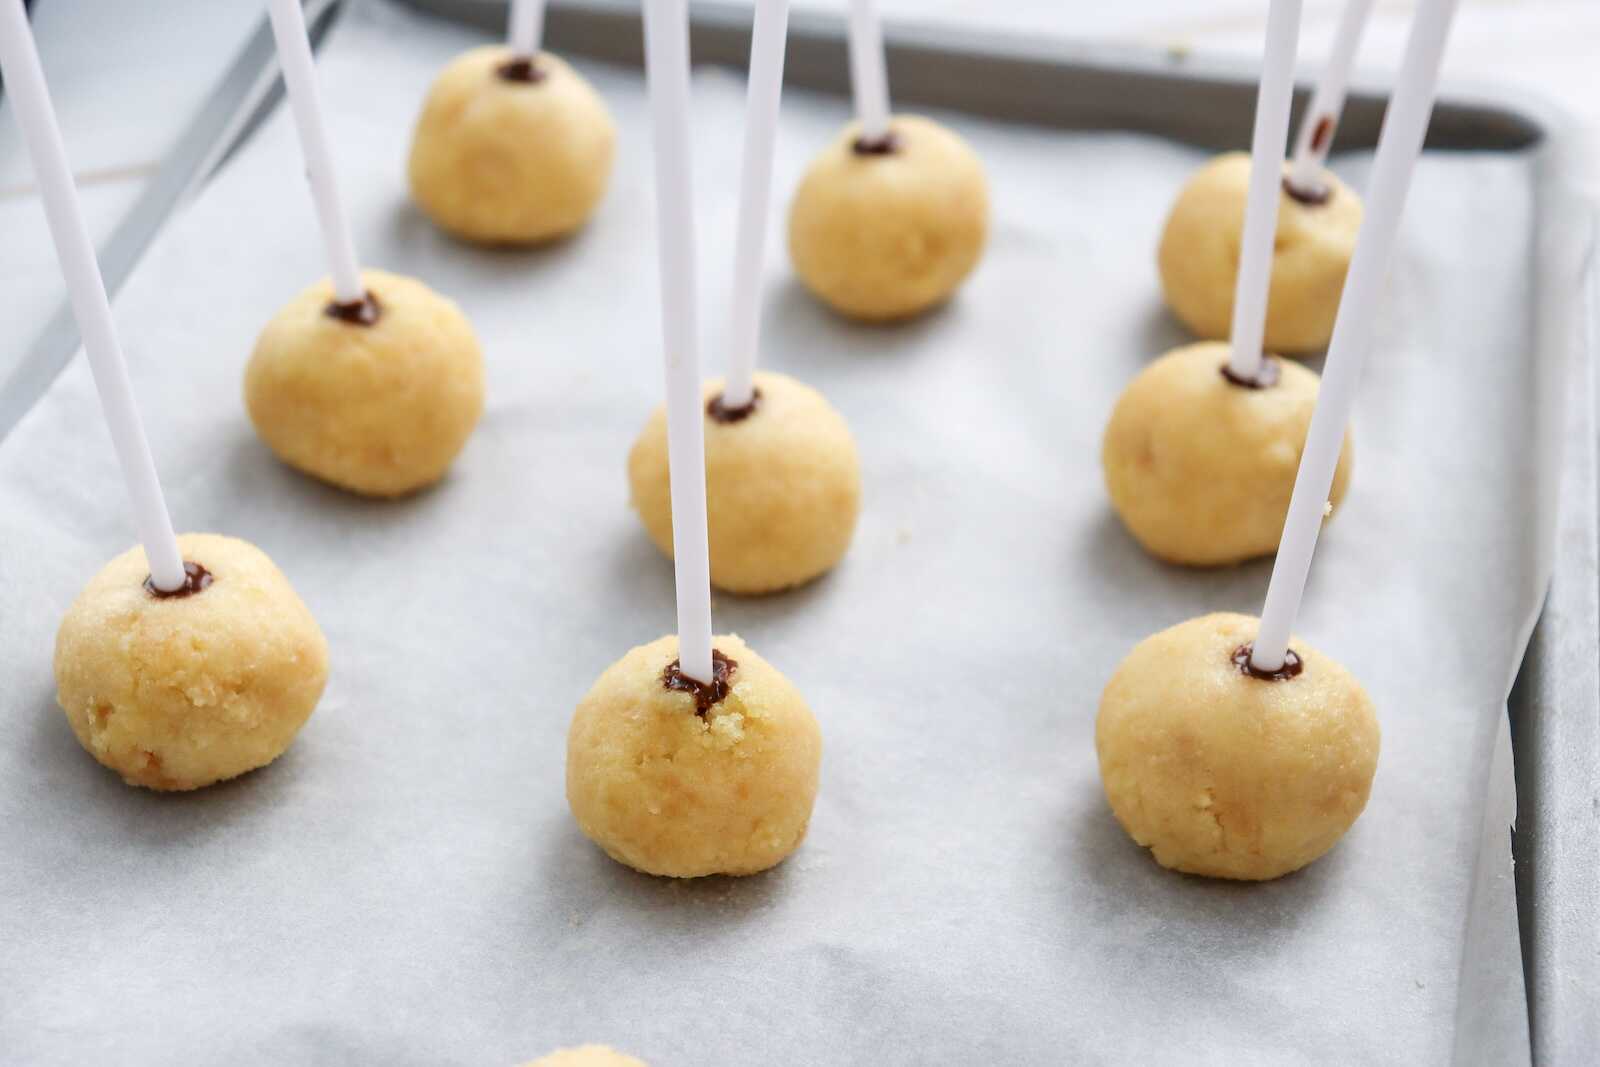
- Dip the tip of a lollipop stick into the melted chocolate.
- Insert the dipped end into a cake ball (this acts like edible glue).
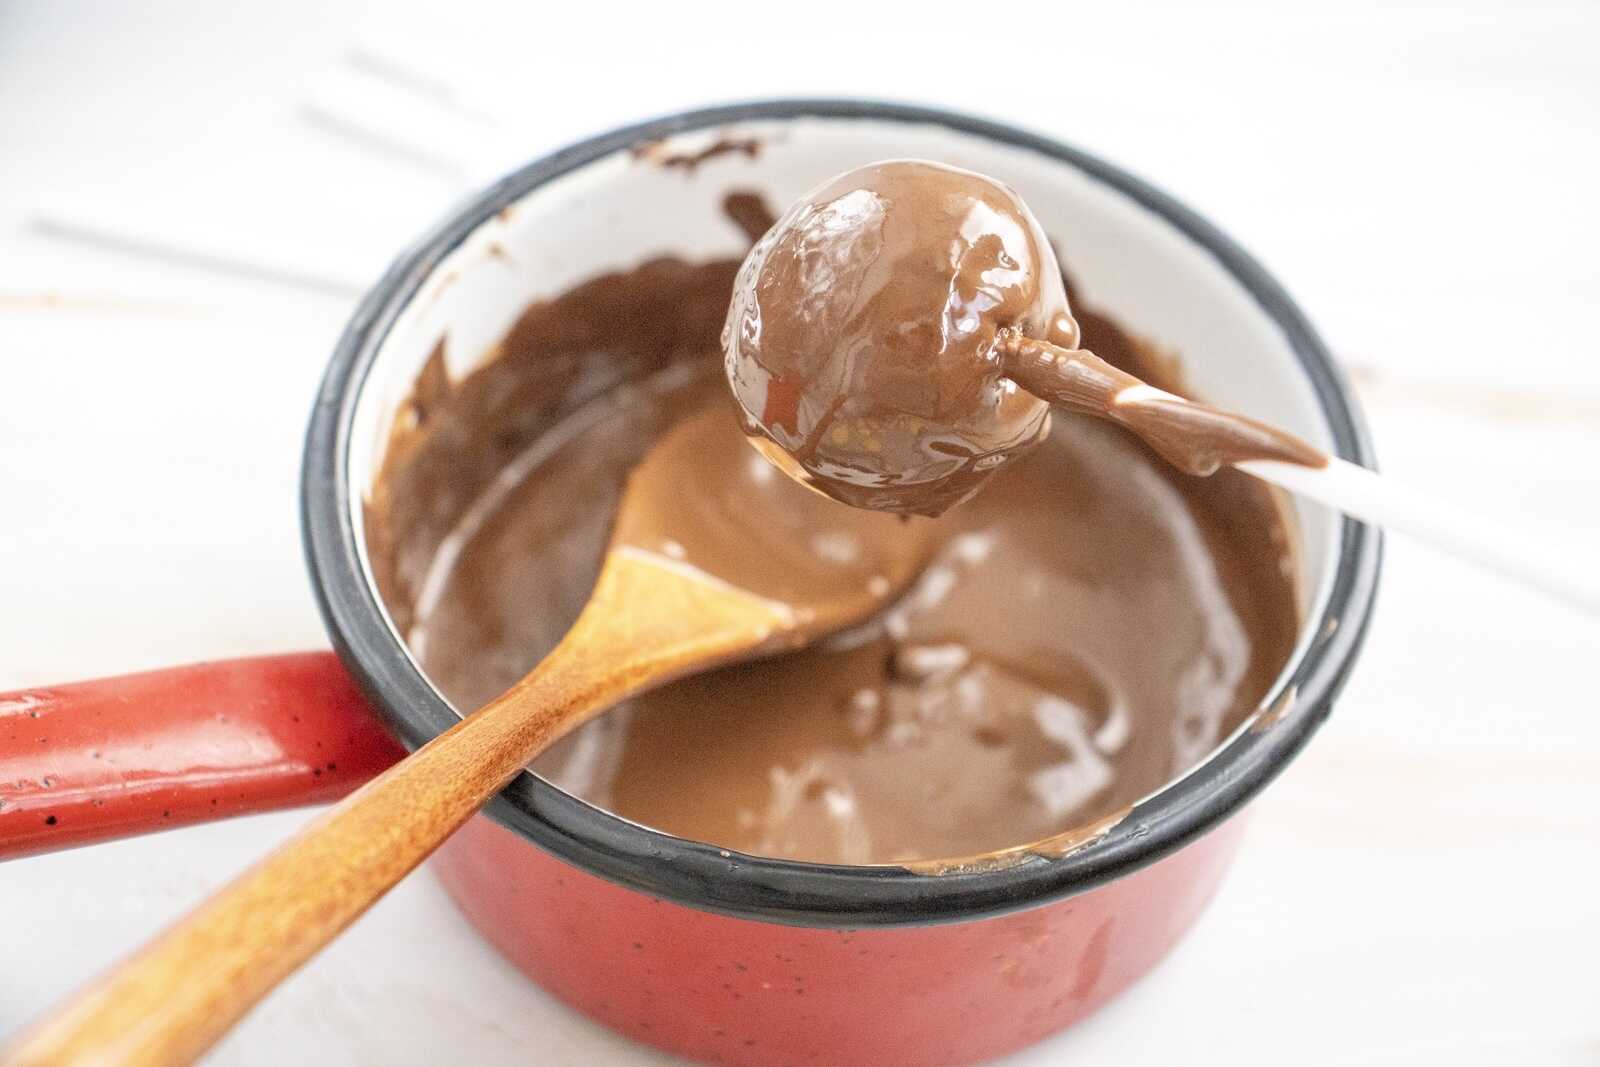
- Holding the stick, dip the entire cake ball into the melted chocolate.
- Gently tap the stick against the side of the bowl to remove excess chocolate.
Troubleshooting Tips:
- Cake Balls Falling Off the Stick?
They’re too warm—chill longer. - Cracks Showing Through the Chocolate?
Chill less time so the temperature difference isn’t extreme. - Lumpy Chocolate Coating?
Melt chocolate in smaller batches so it doesn’t thicken while you work.
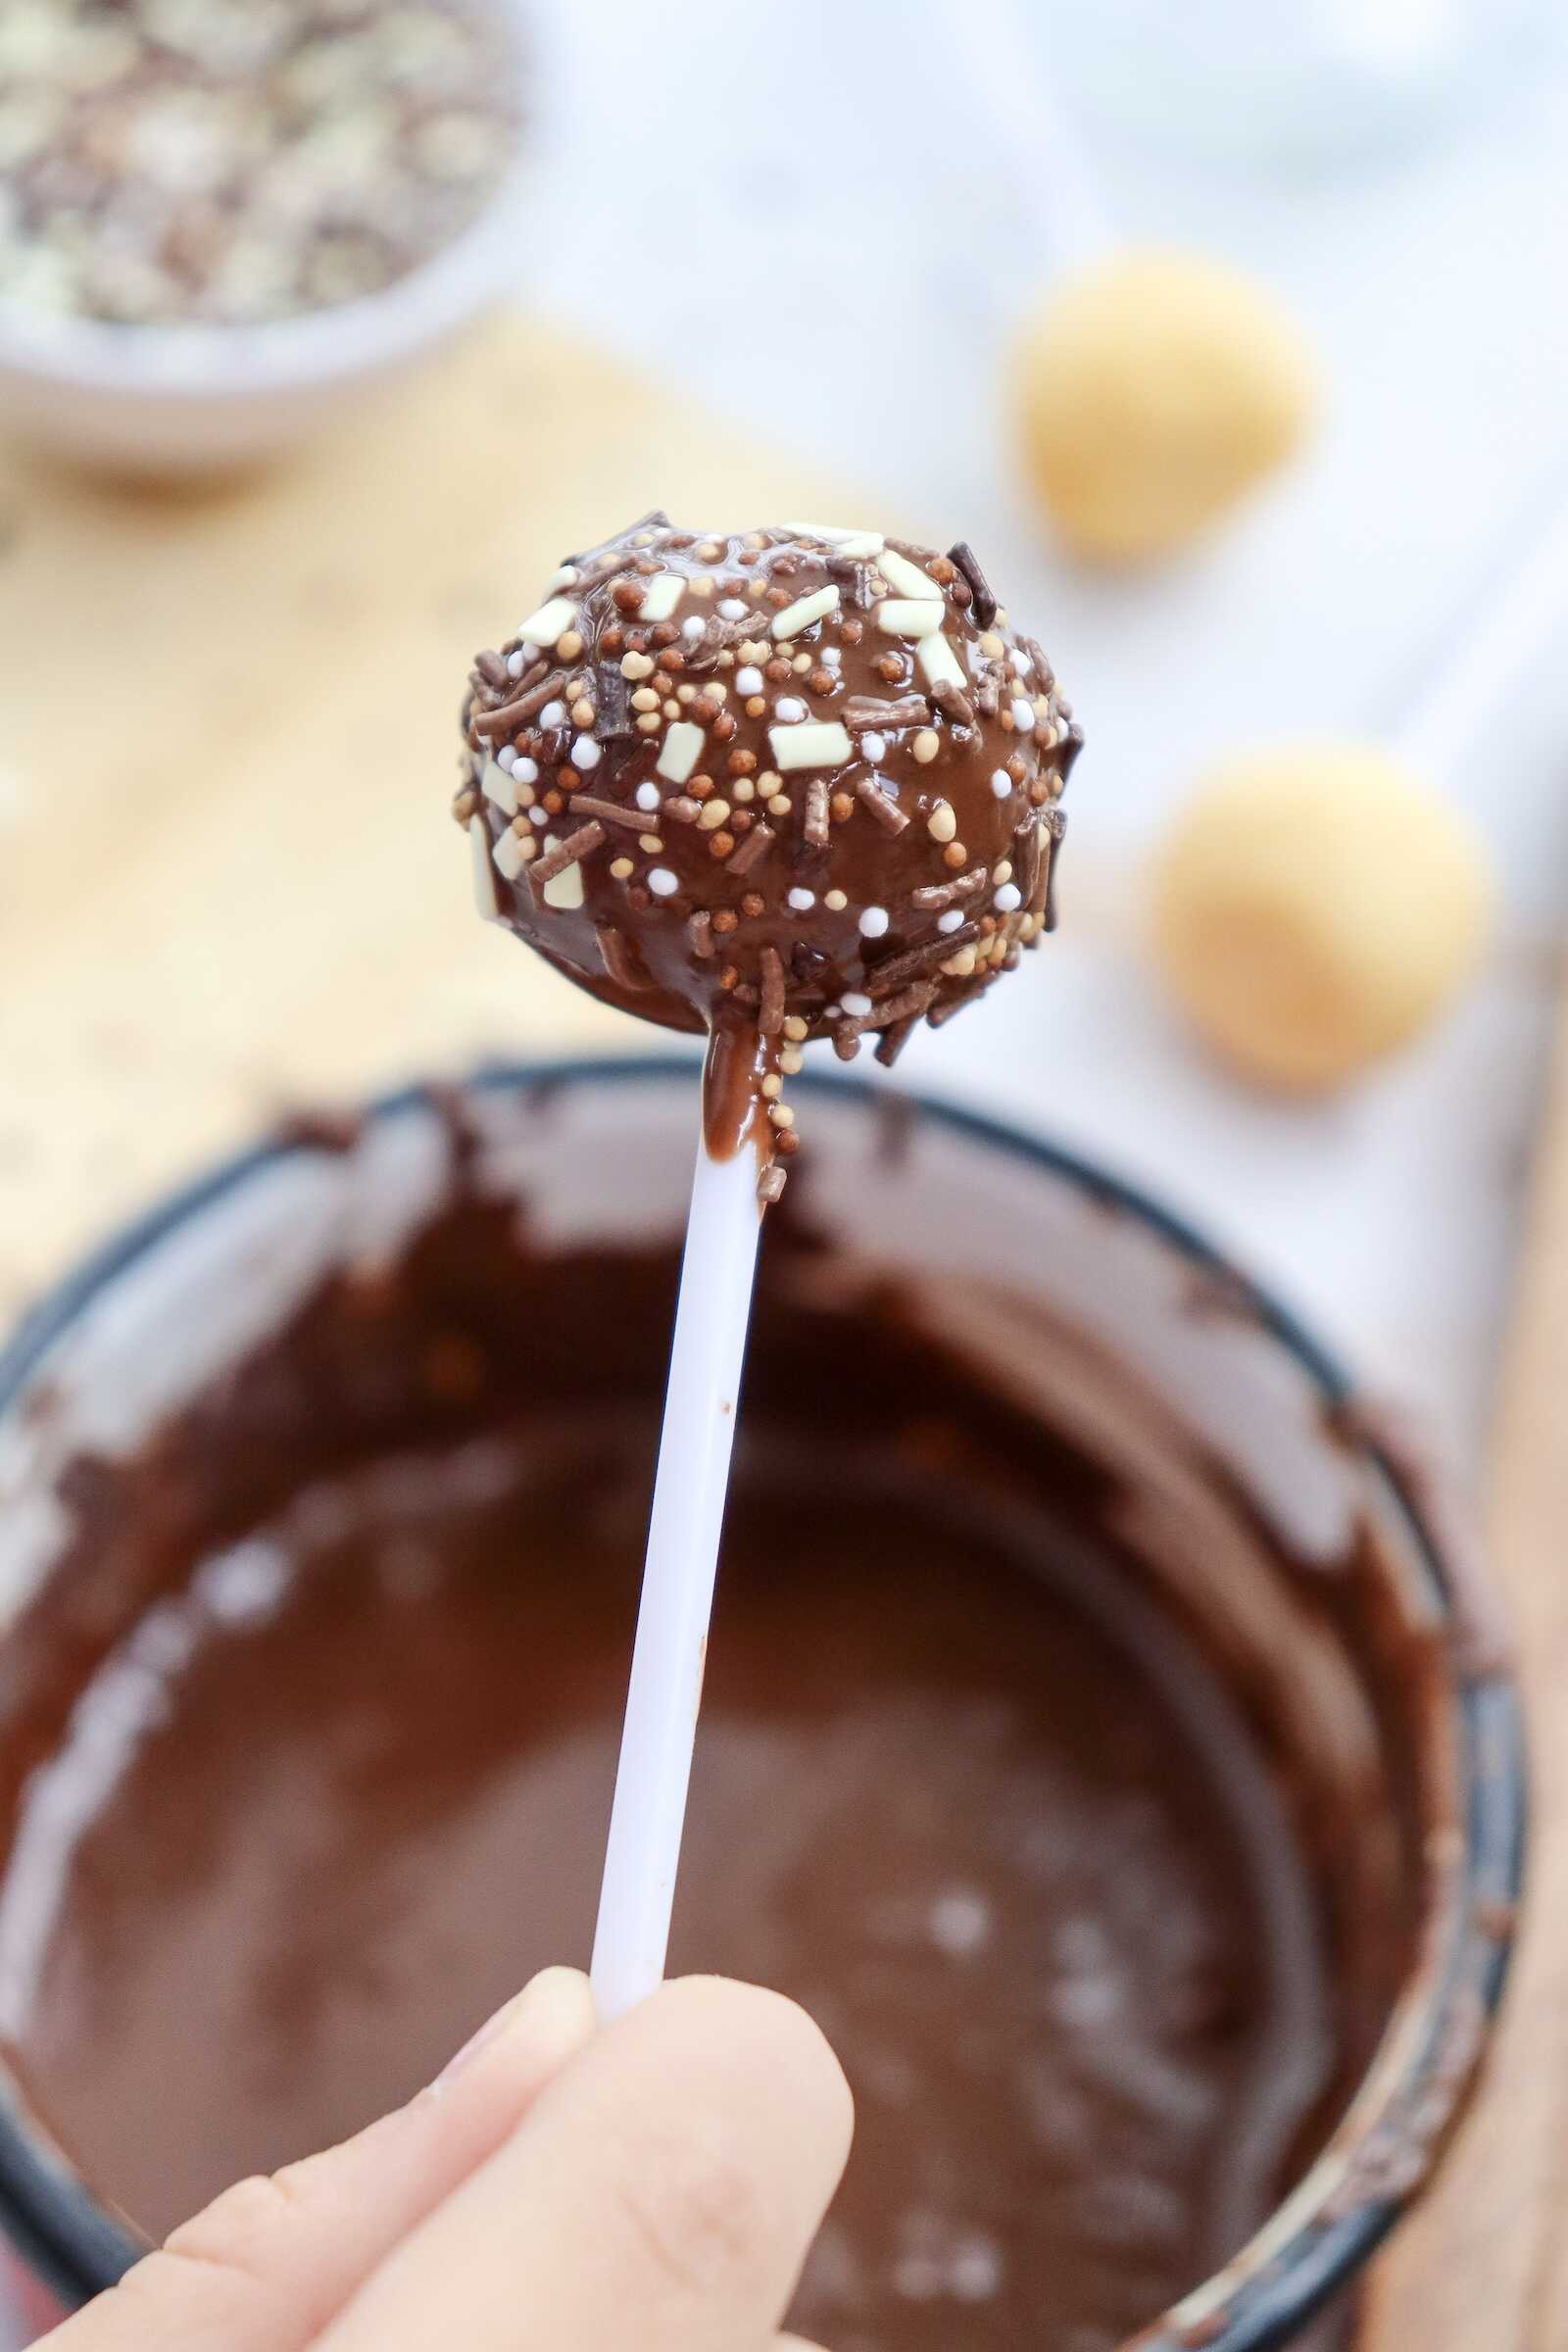
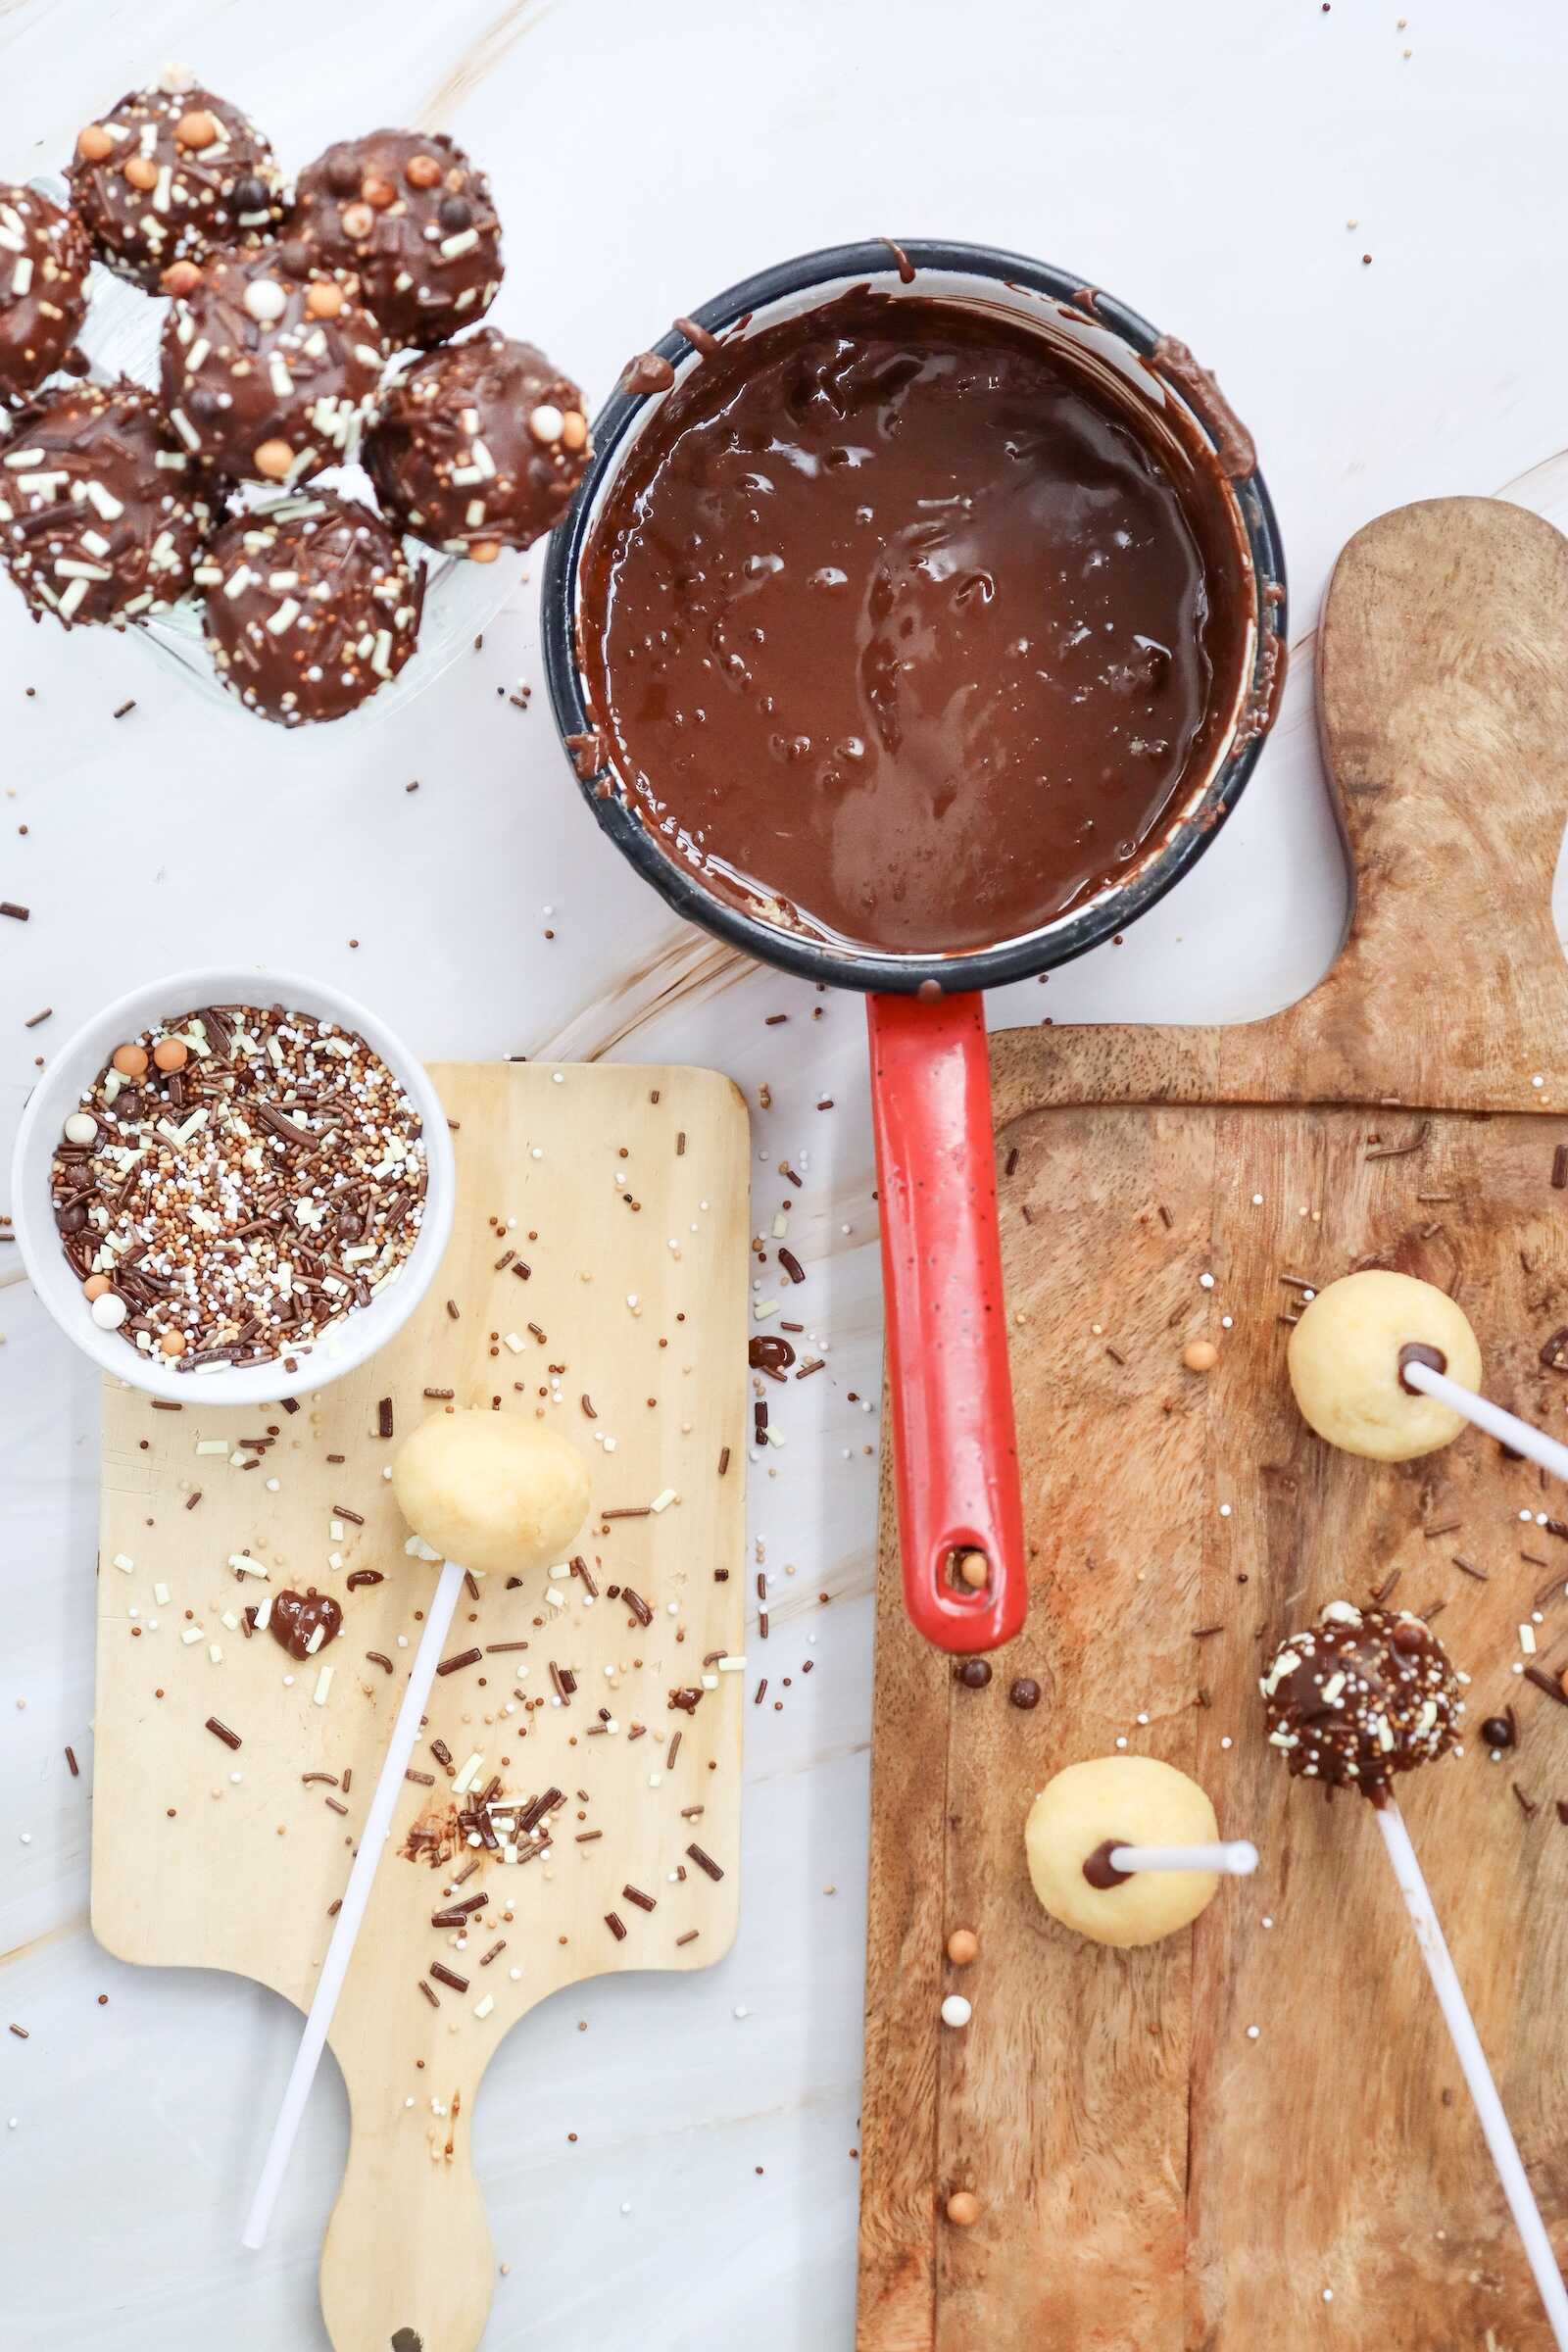
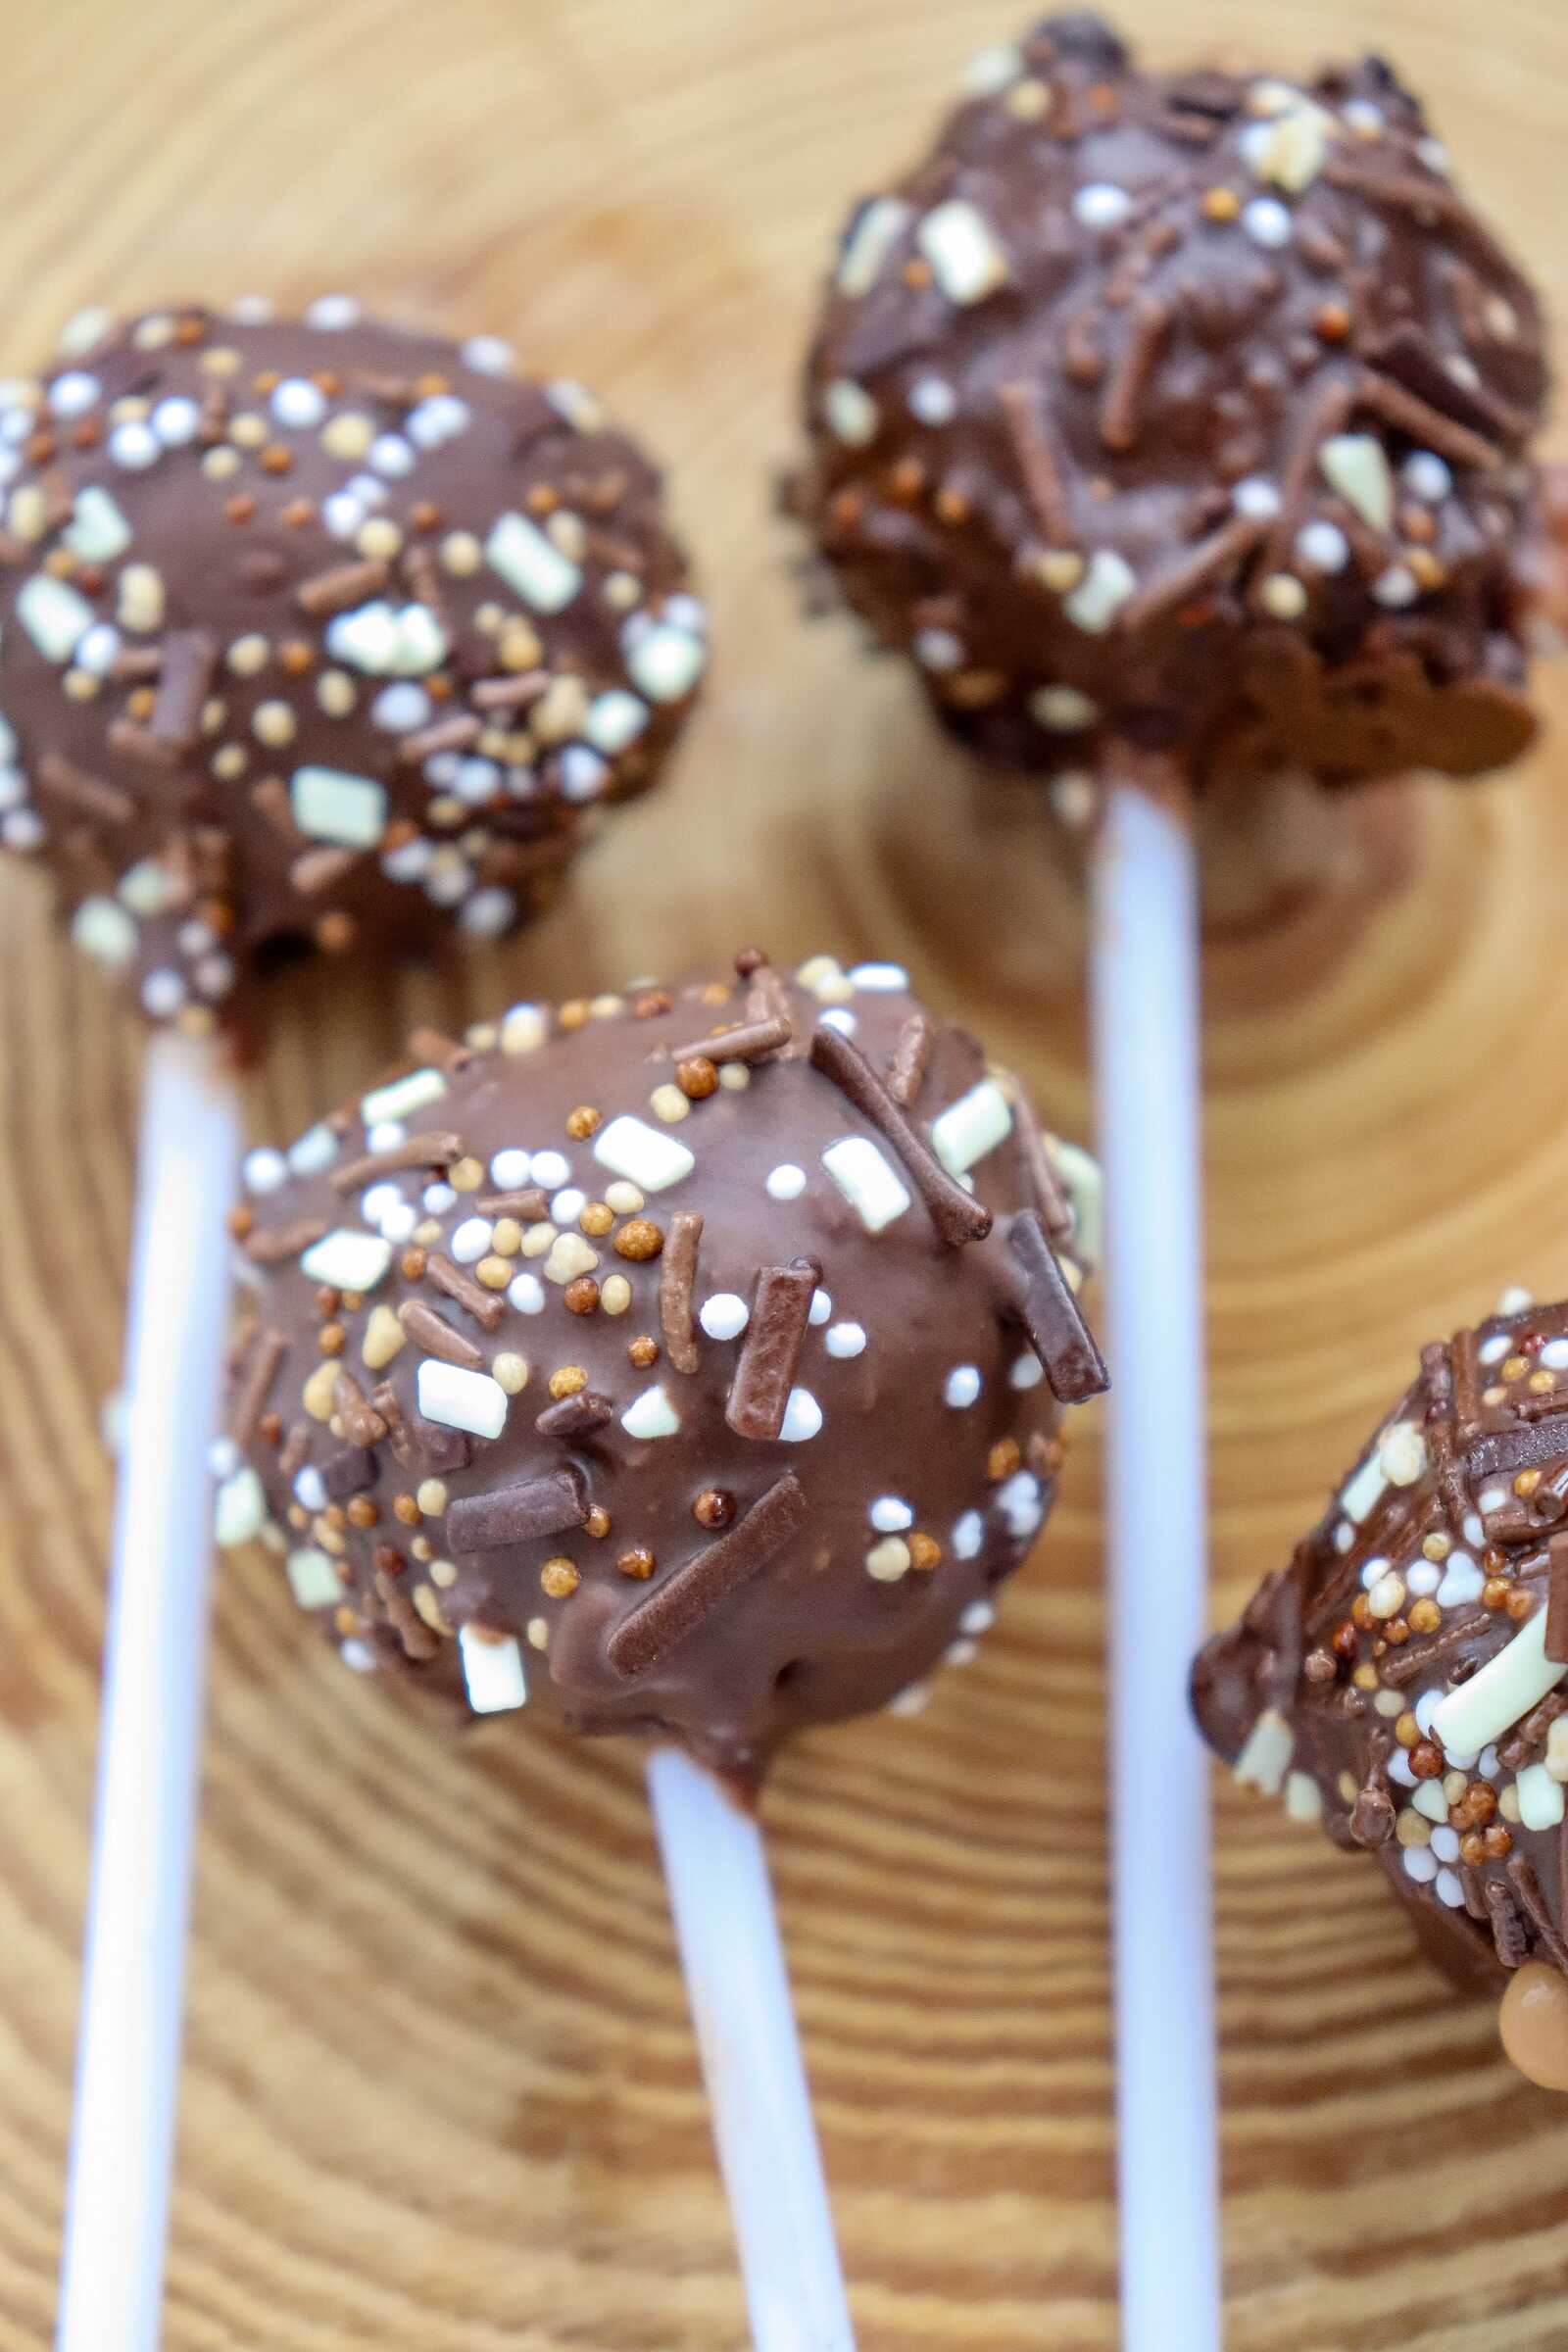
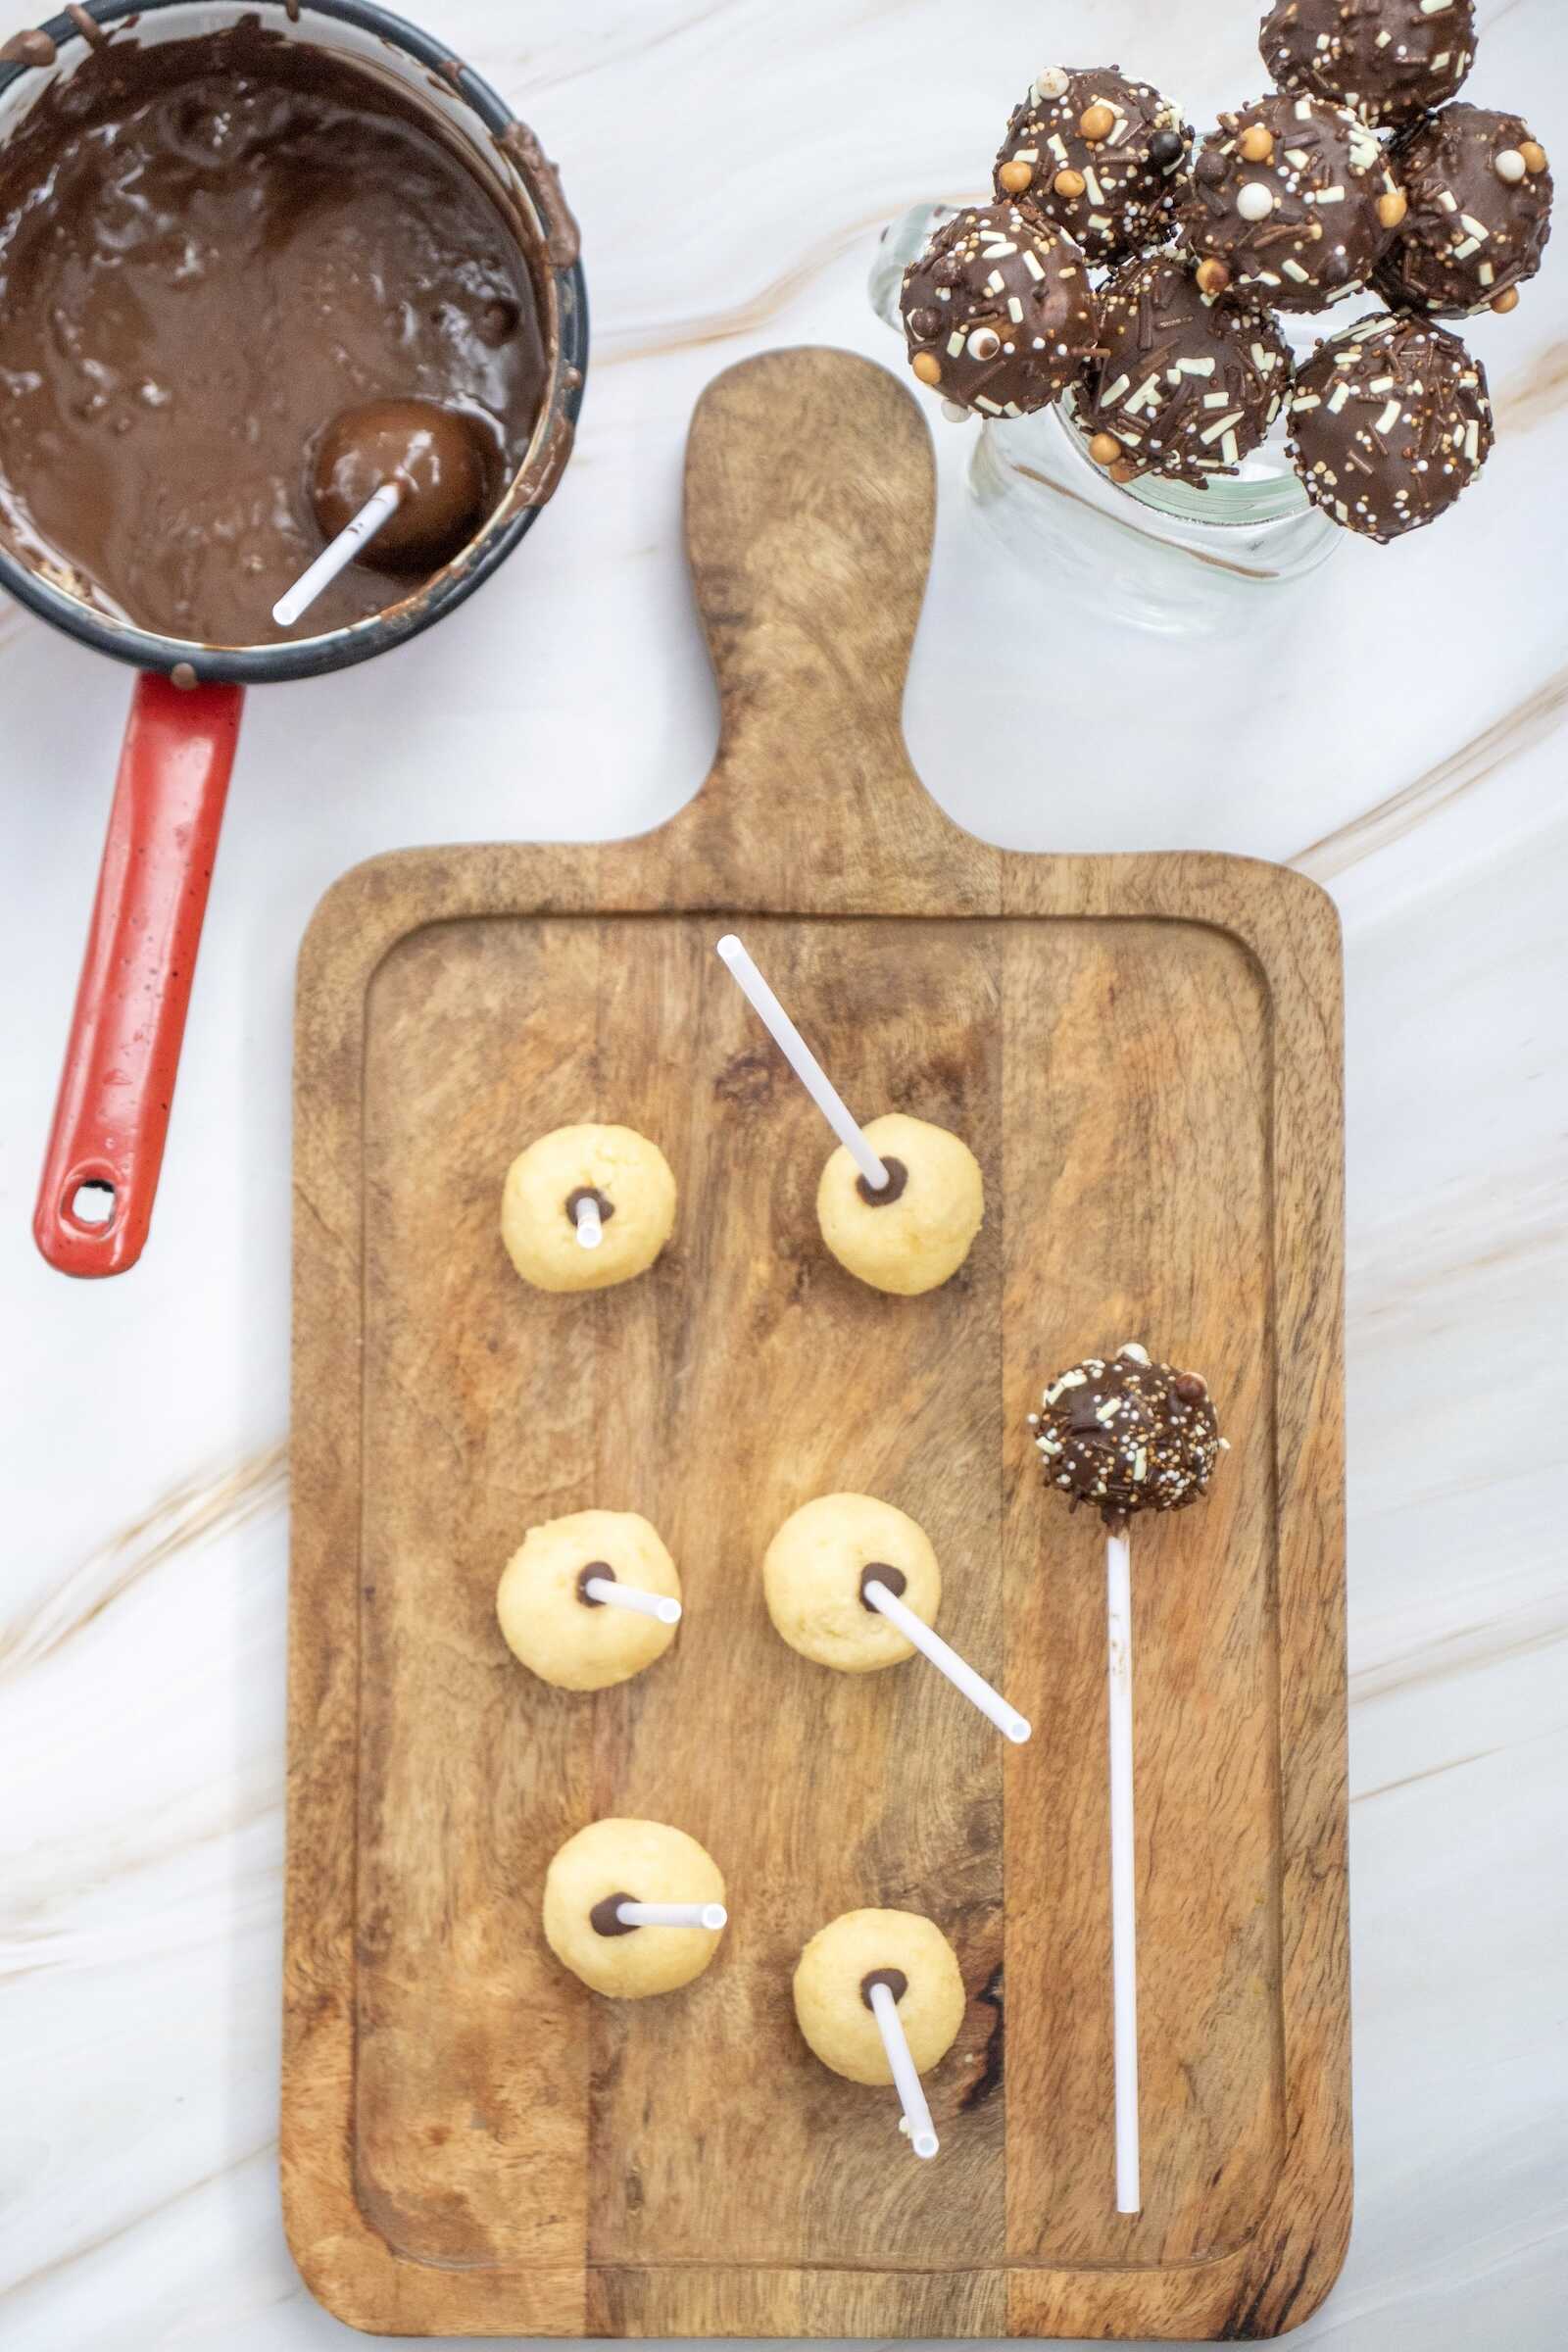
8. Add Sprinkles
Before the chocolate sets:
- Gently roll the cake pop in your chosen sprinkles, or
- Sprinkle decor over the top for lighter coverage.
This step is especially fun for kids—they love choosing their sprinkle combinations!
Decoration Ideas:
- Birthday: Rainbow sprinkles
- Baby shower: Pink or blue jimmies
- Holiday: Red & green, pastel Easter shades, spooky Halloween blends
- Elegant party: Gold pearls or white sanding sugar
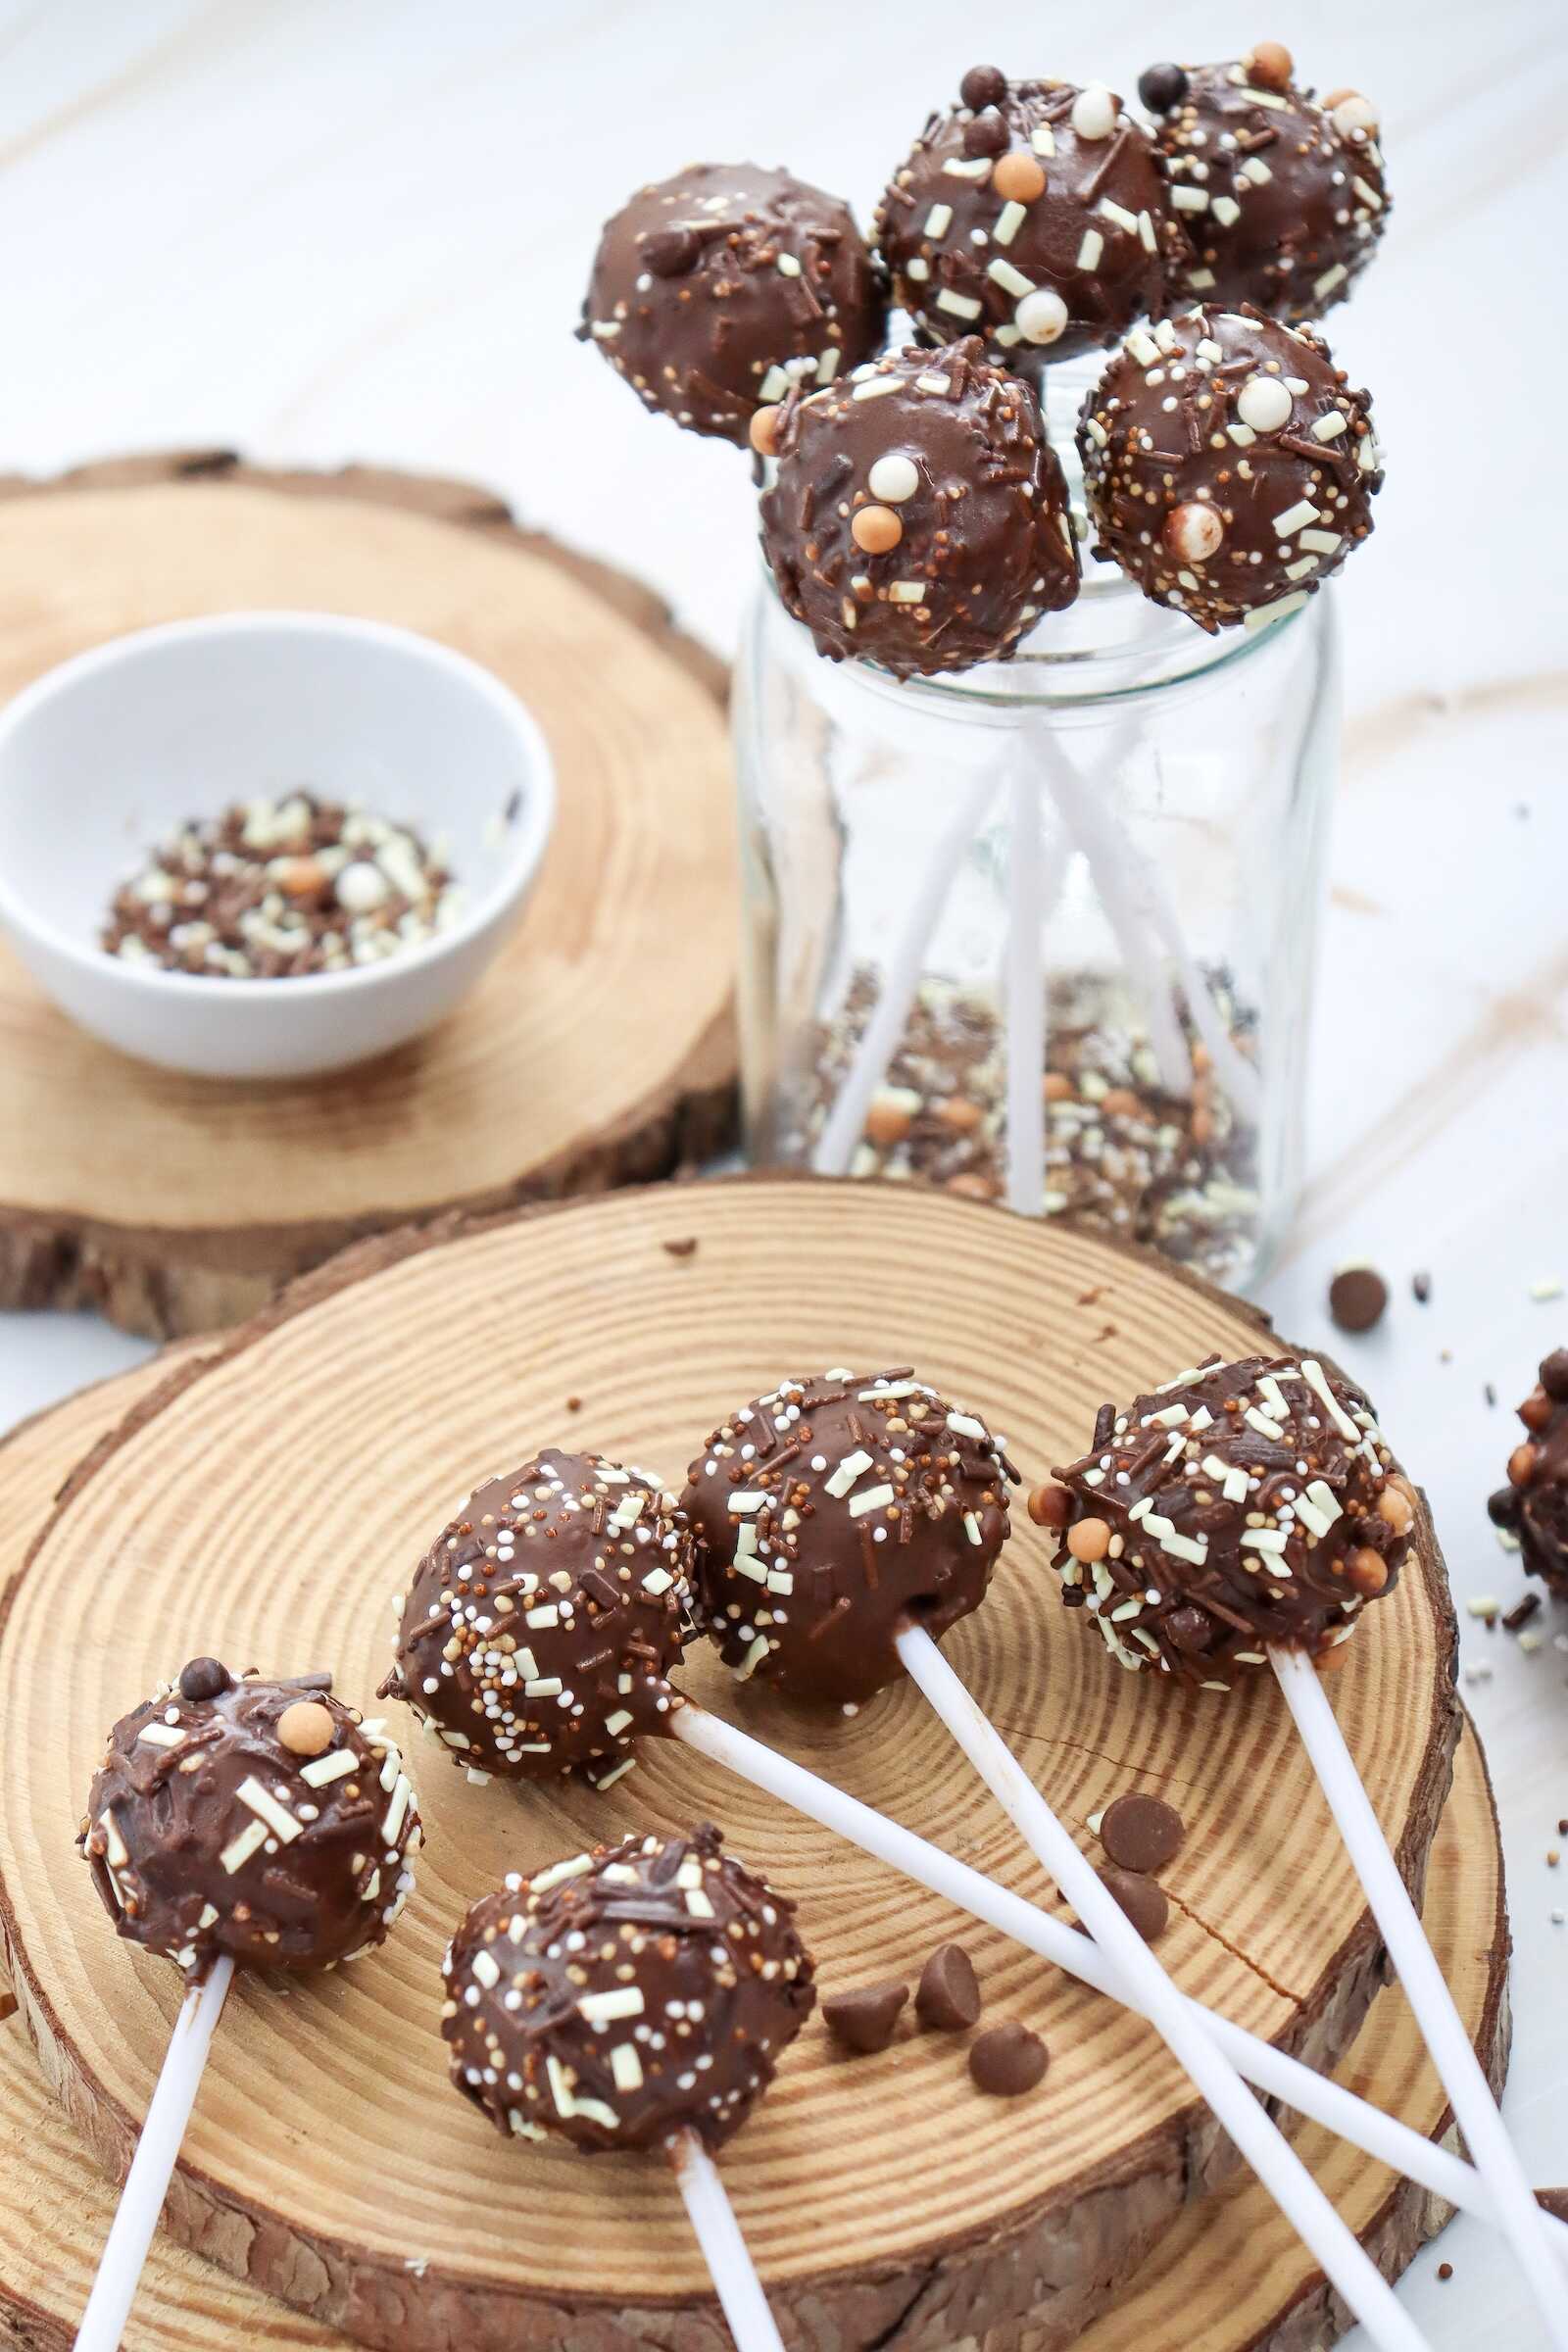
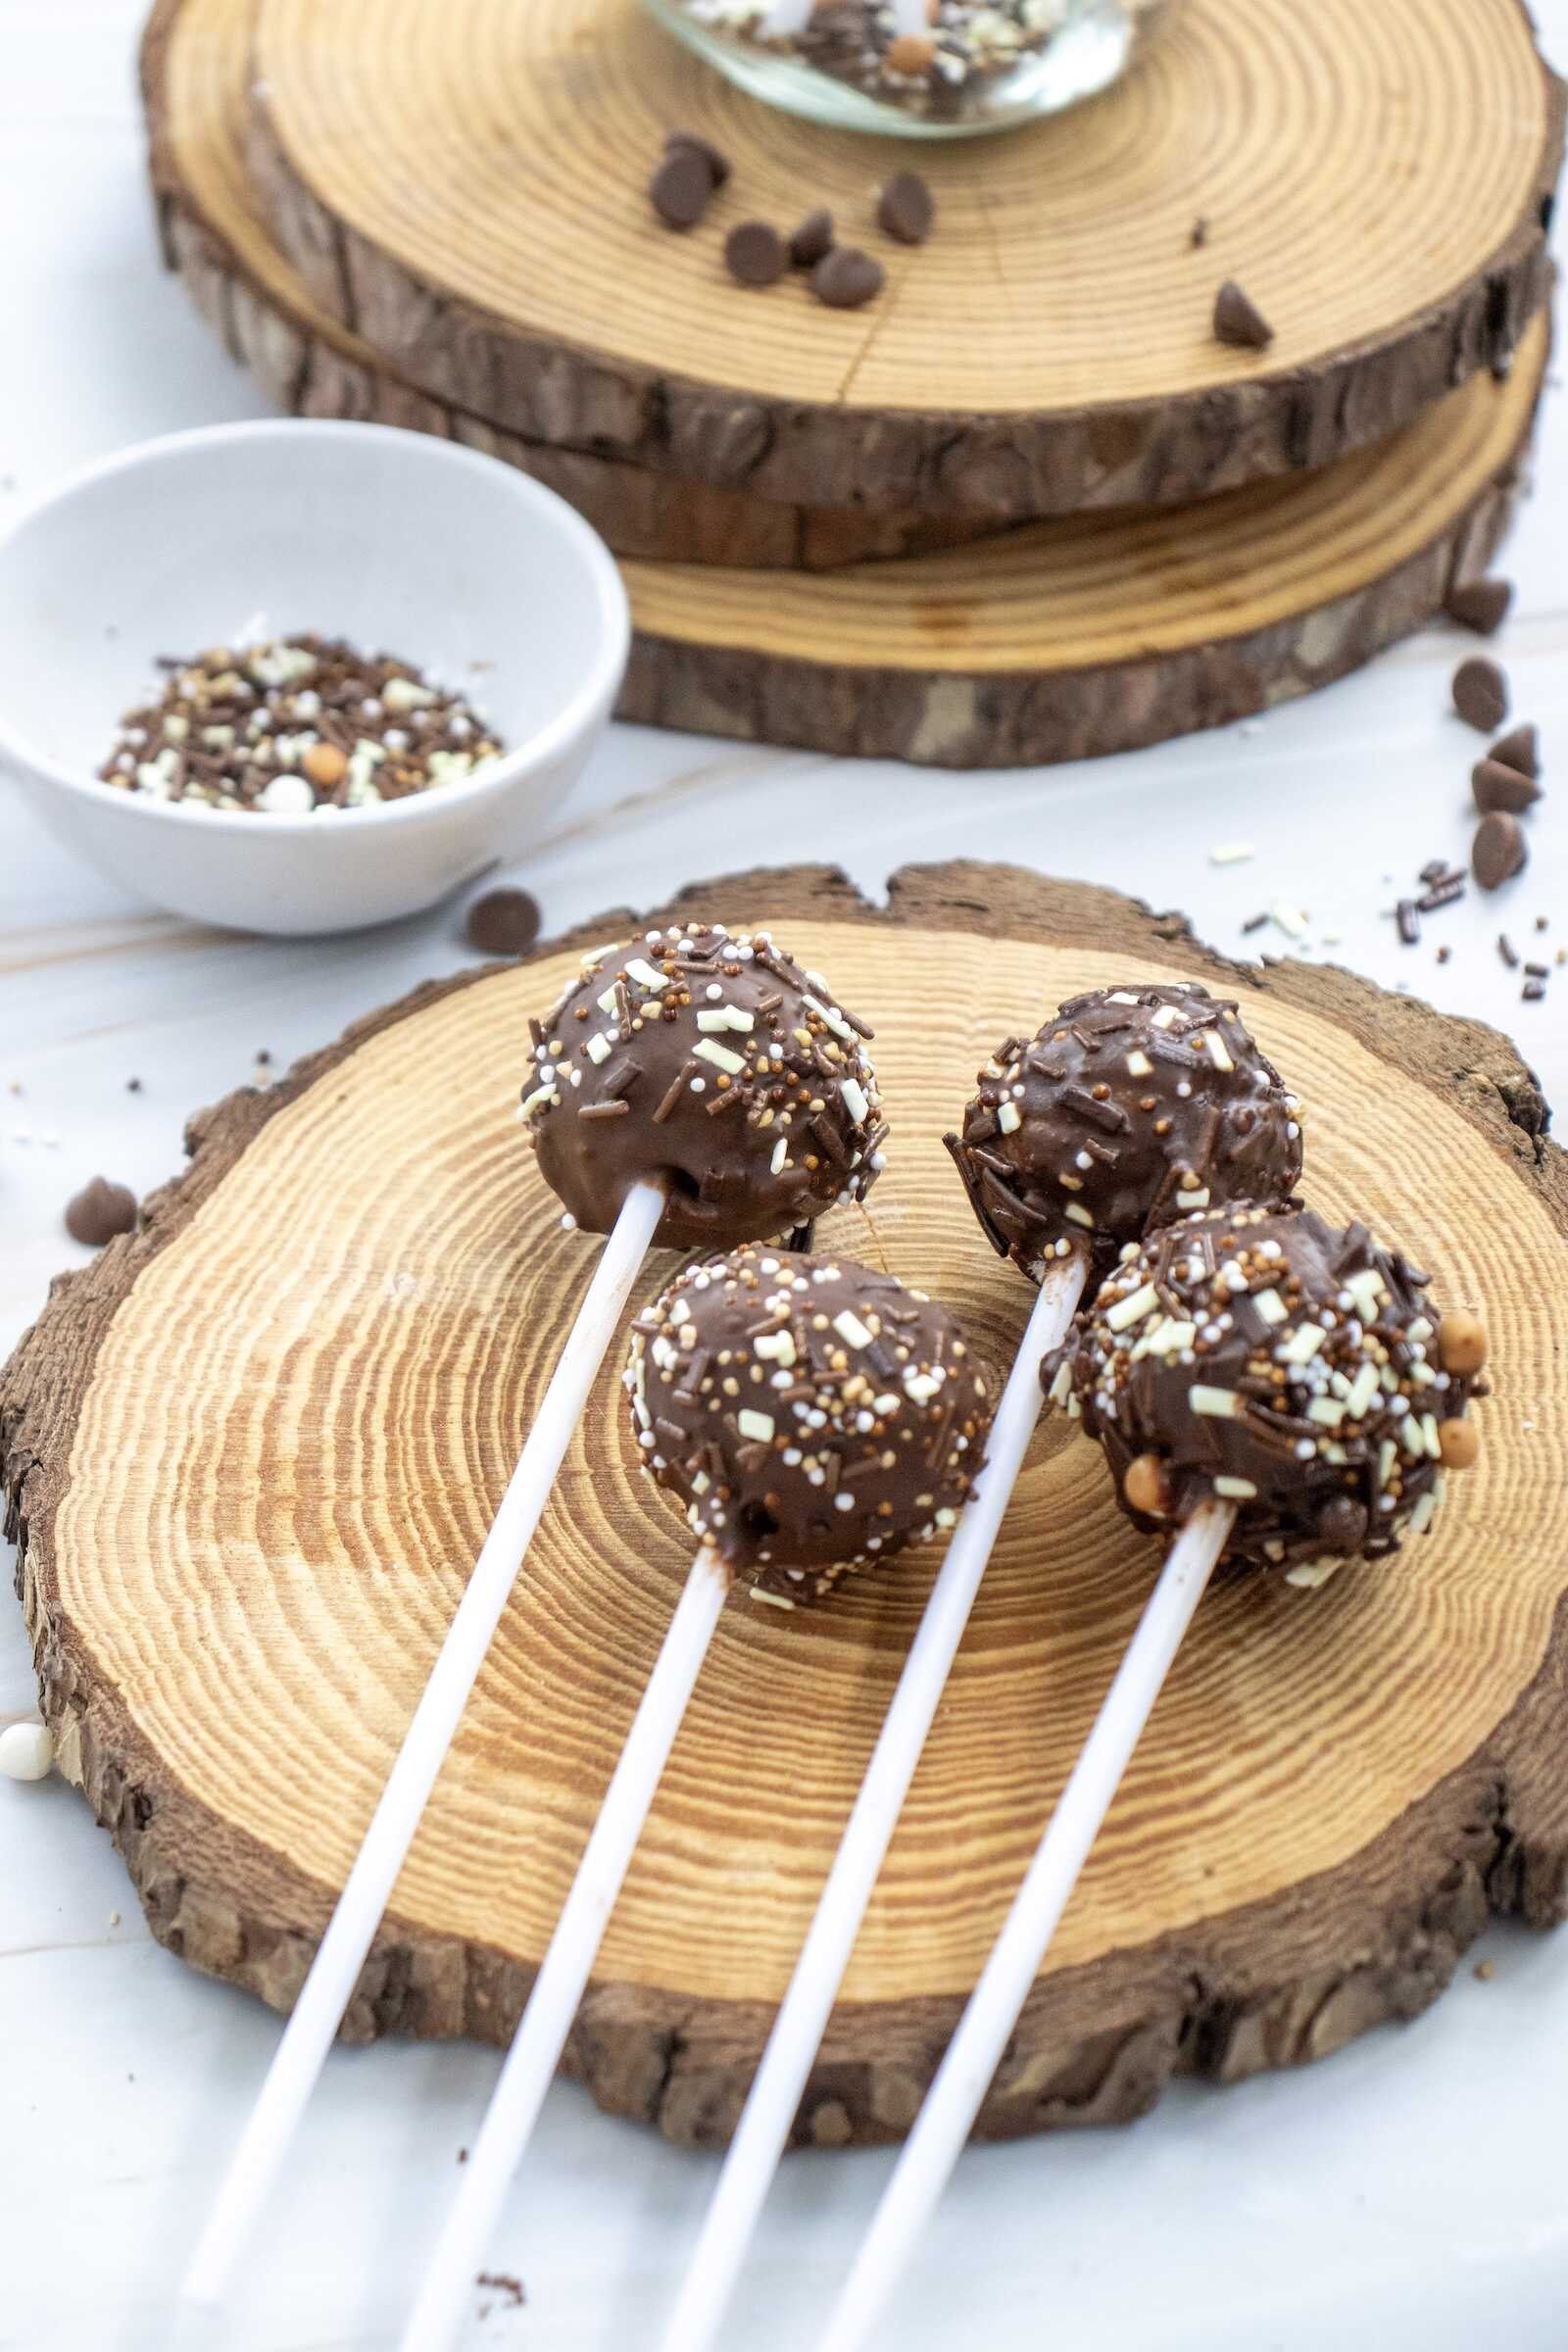
9. Dry and Set the Cake Pops
Once decorated:
- Place each cake pop upright into a styrofoam block or cake pop stand.
- Let them dry for about 30 minutes, or until the chocolate is fully hardened.
This ensures your pops hold their shape and are smudge-free when served.
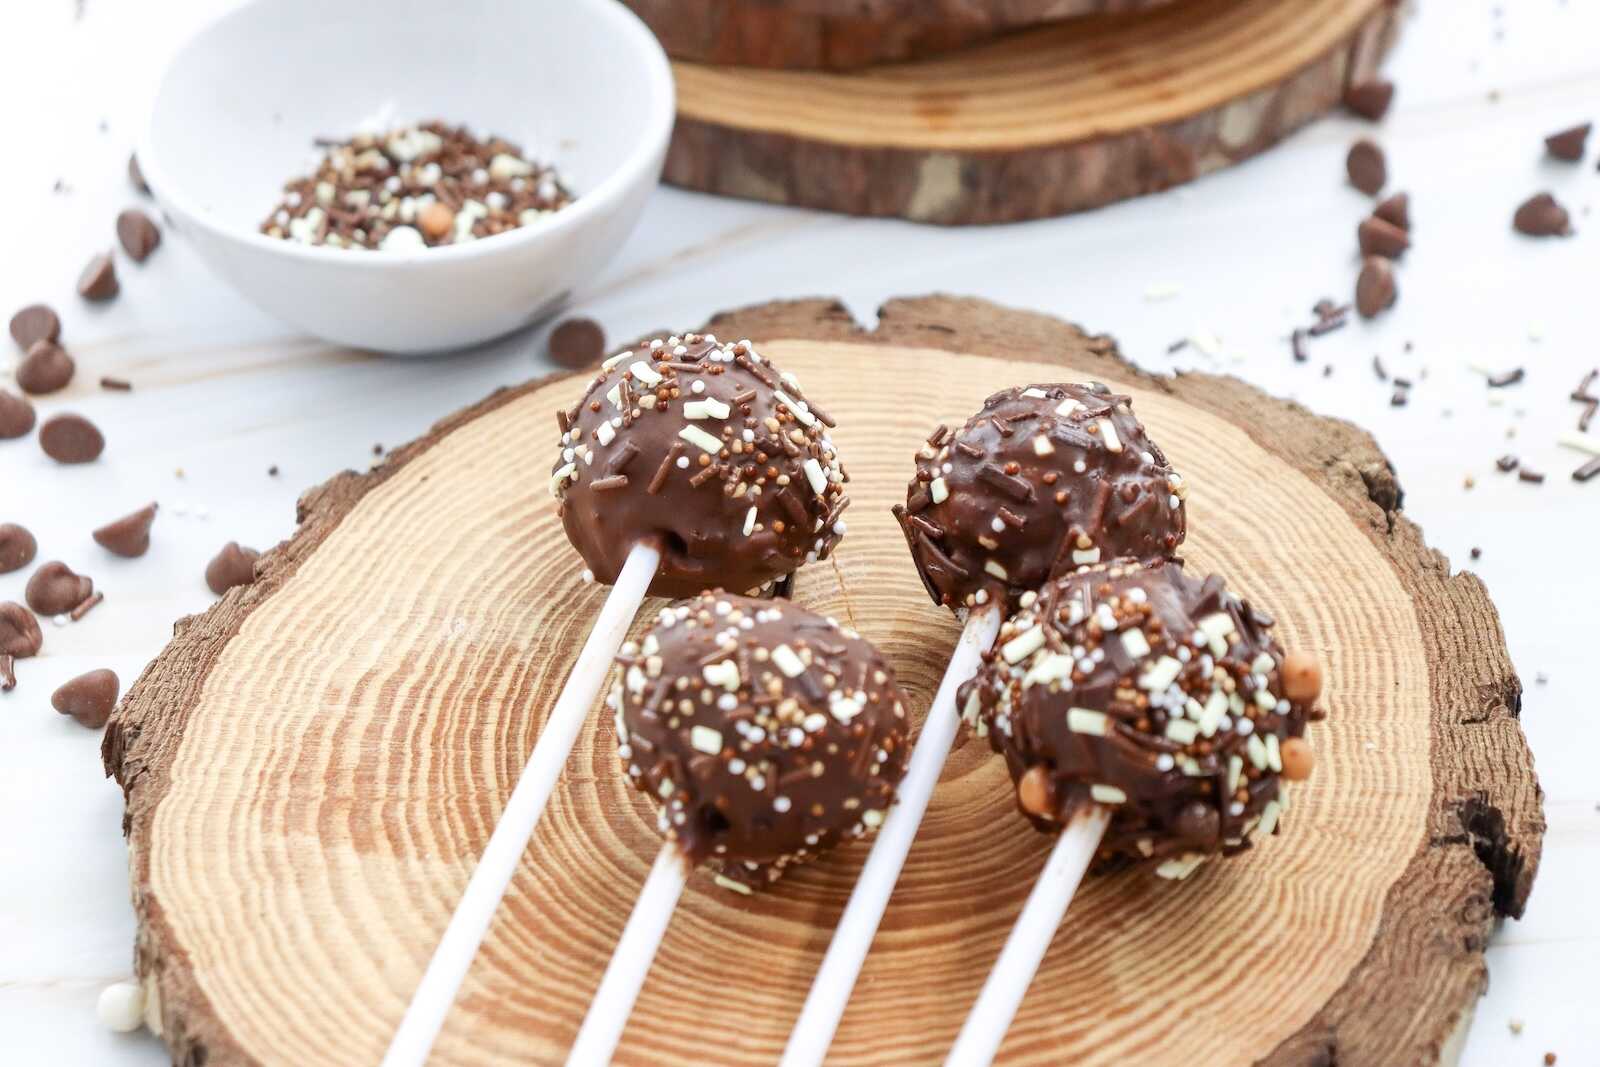
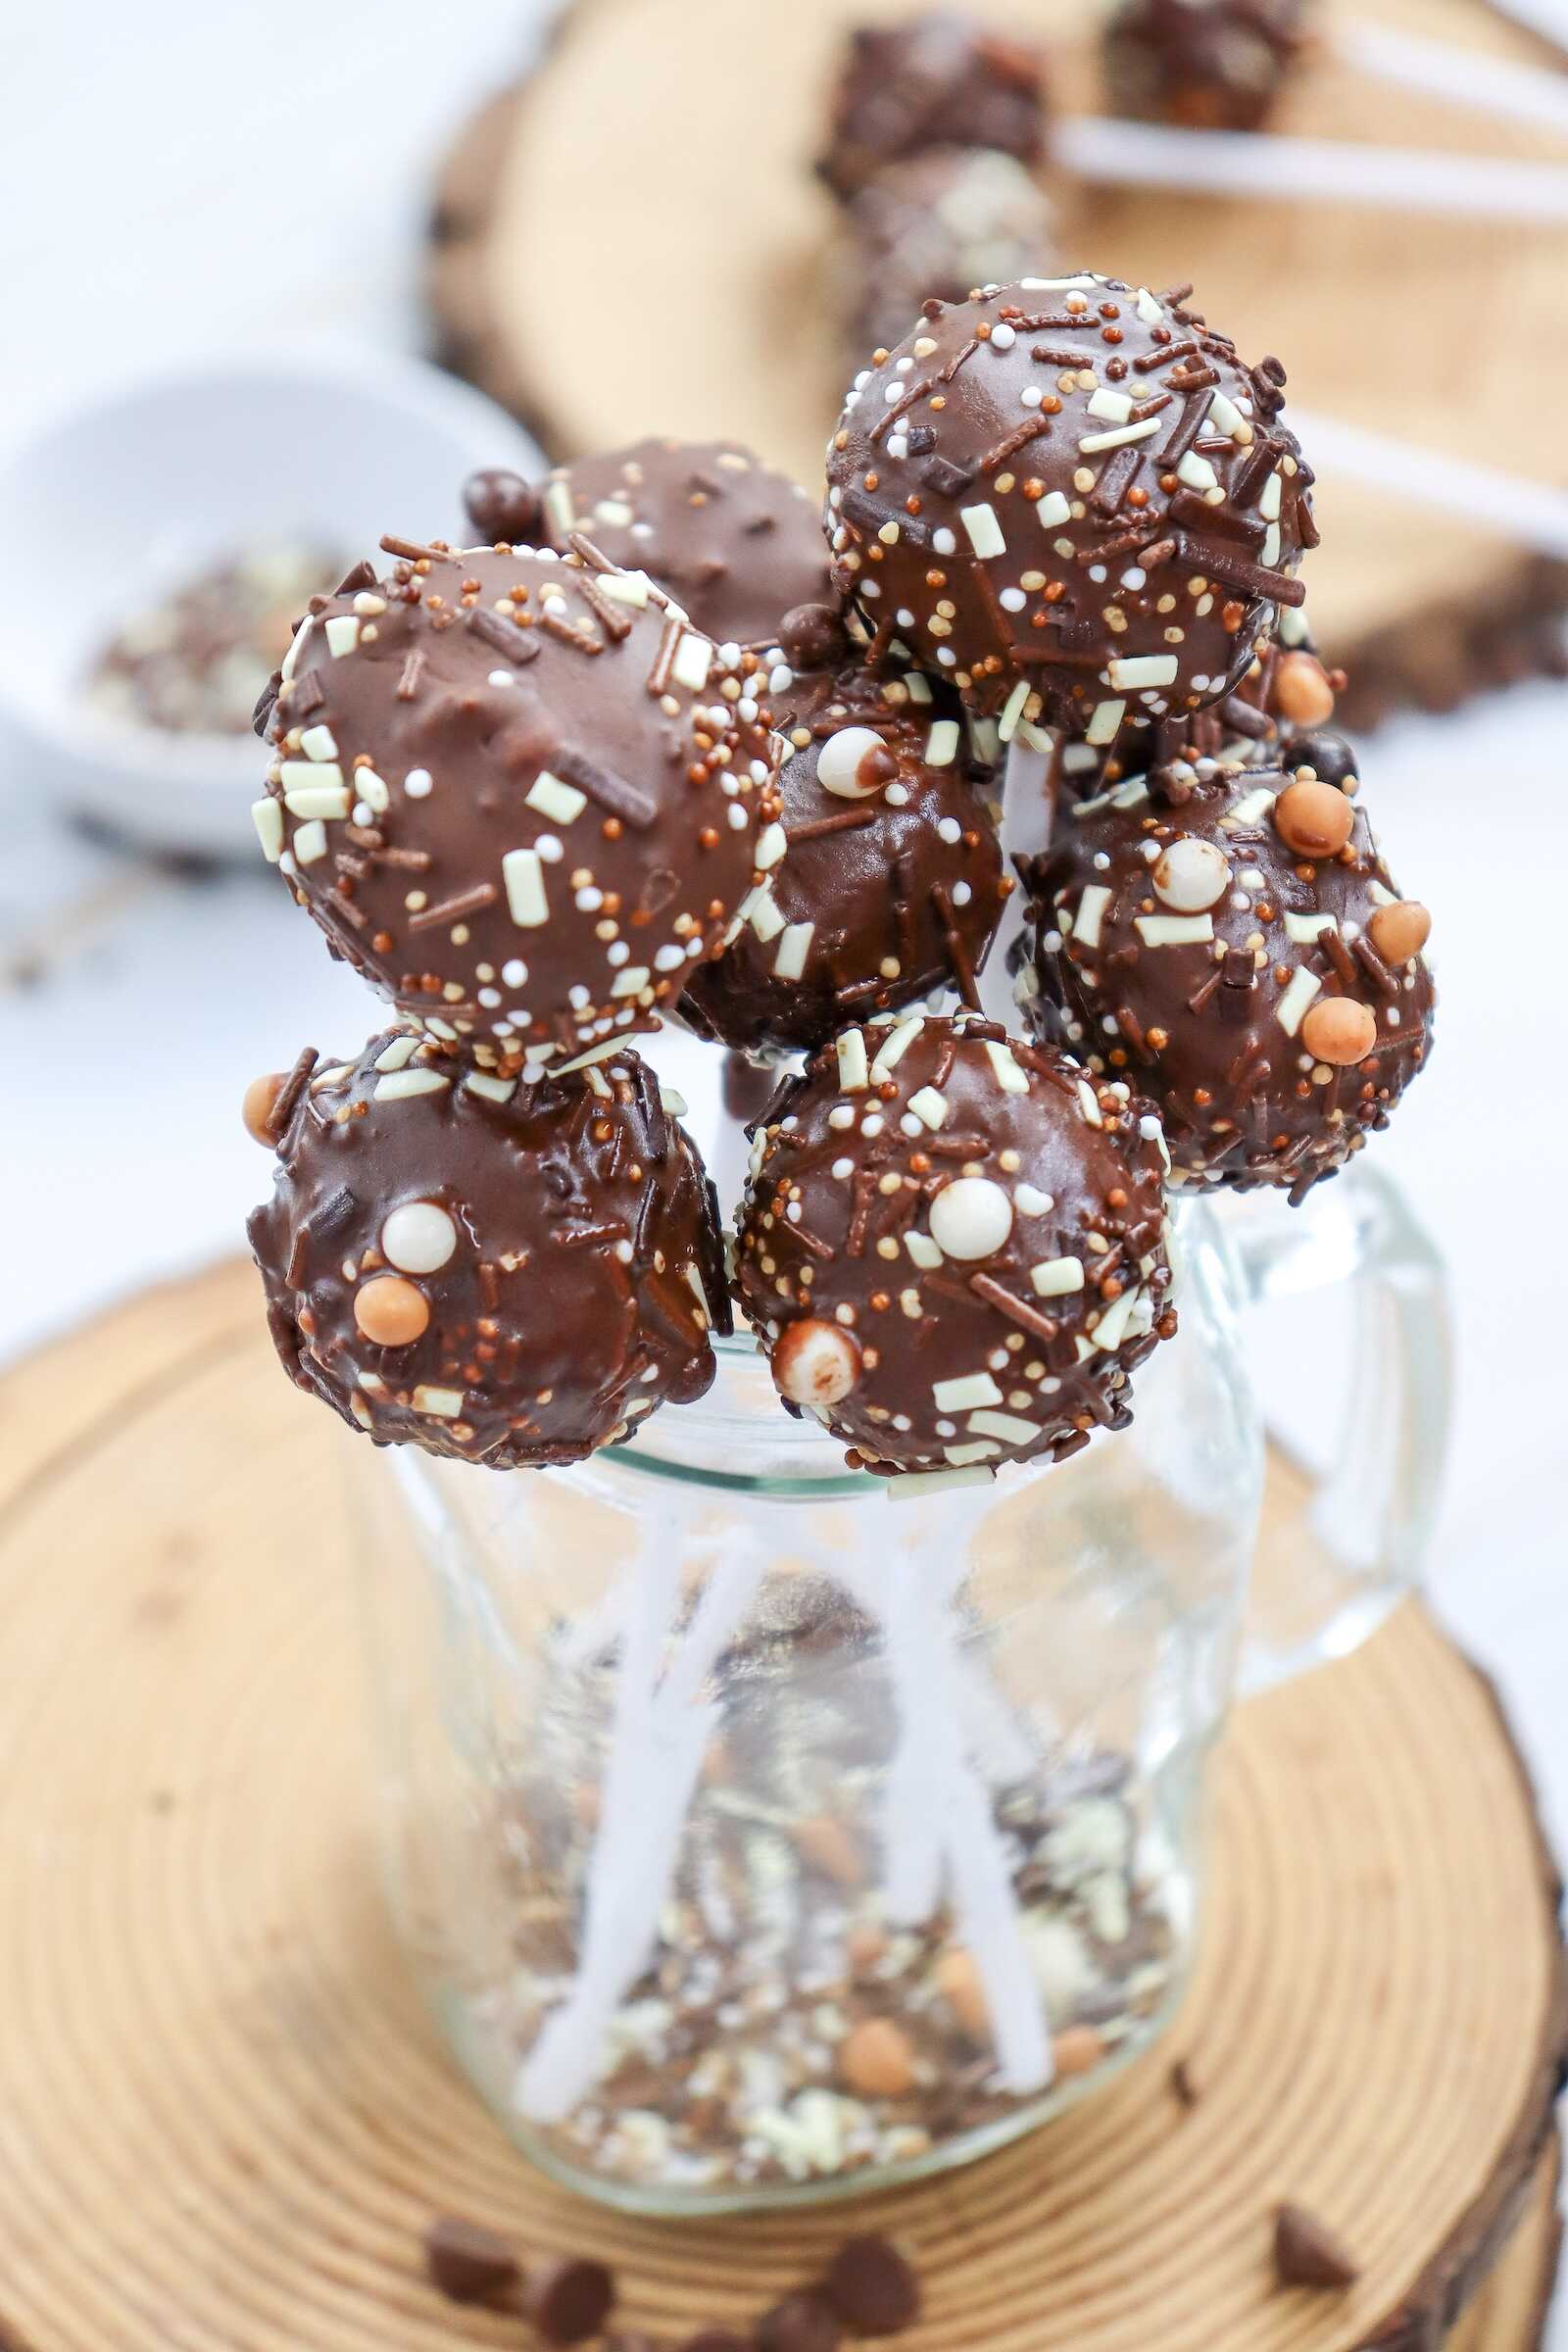
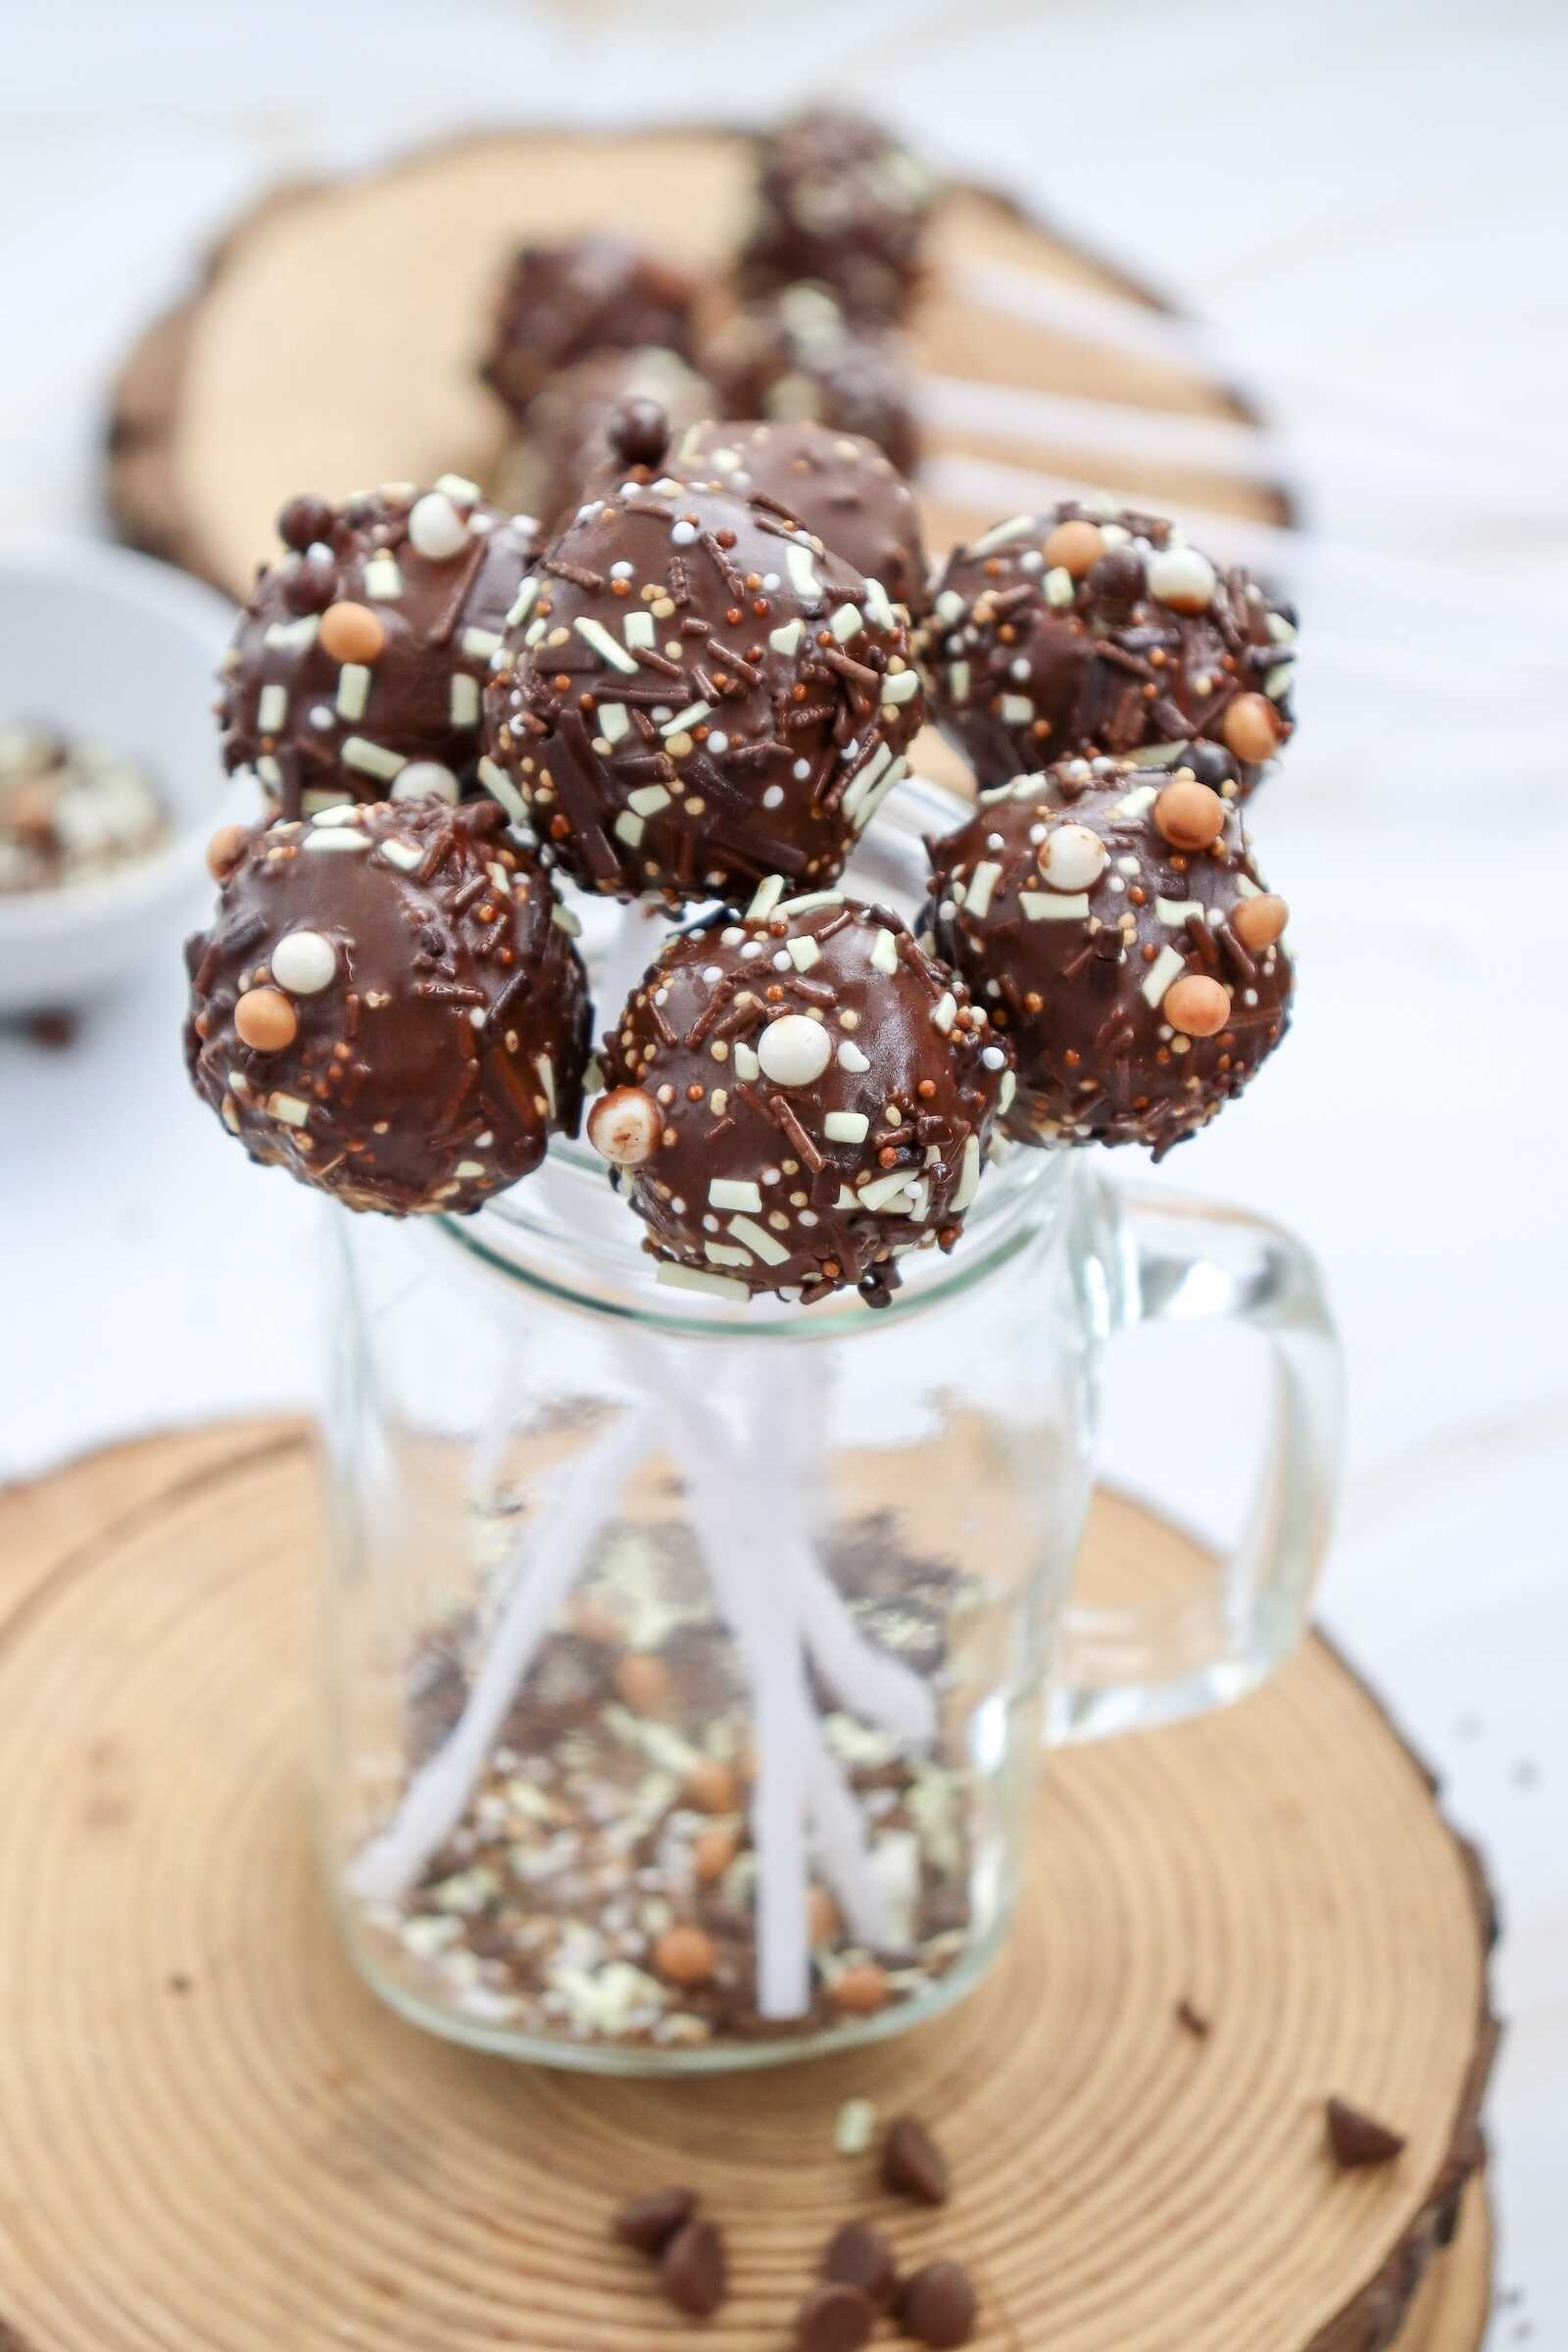
10. Enjoy!
Your chocolate chip and sprinkle cake pops are ready to serve!
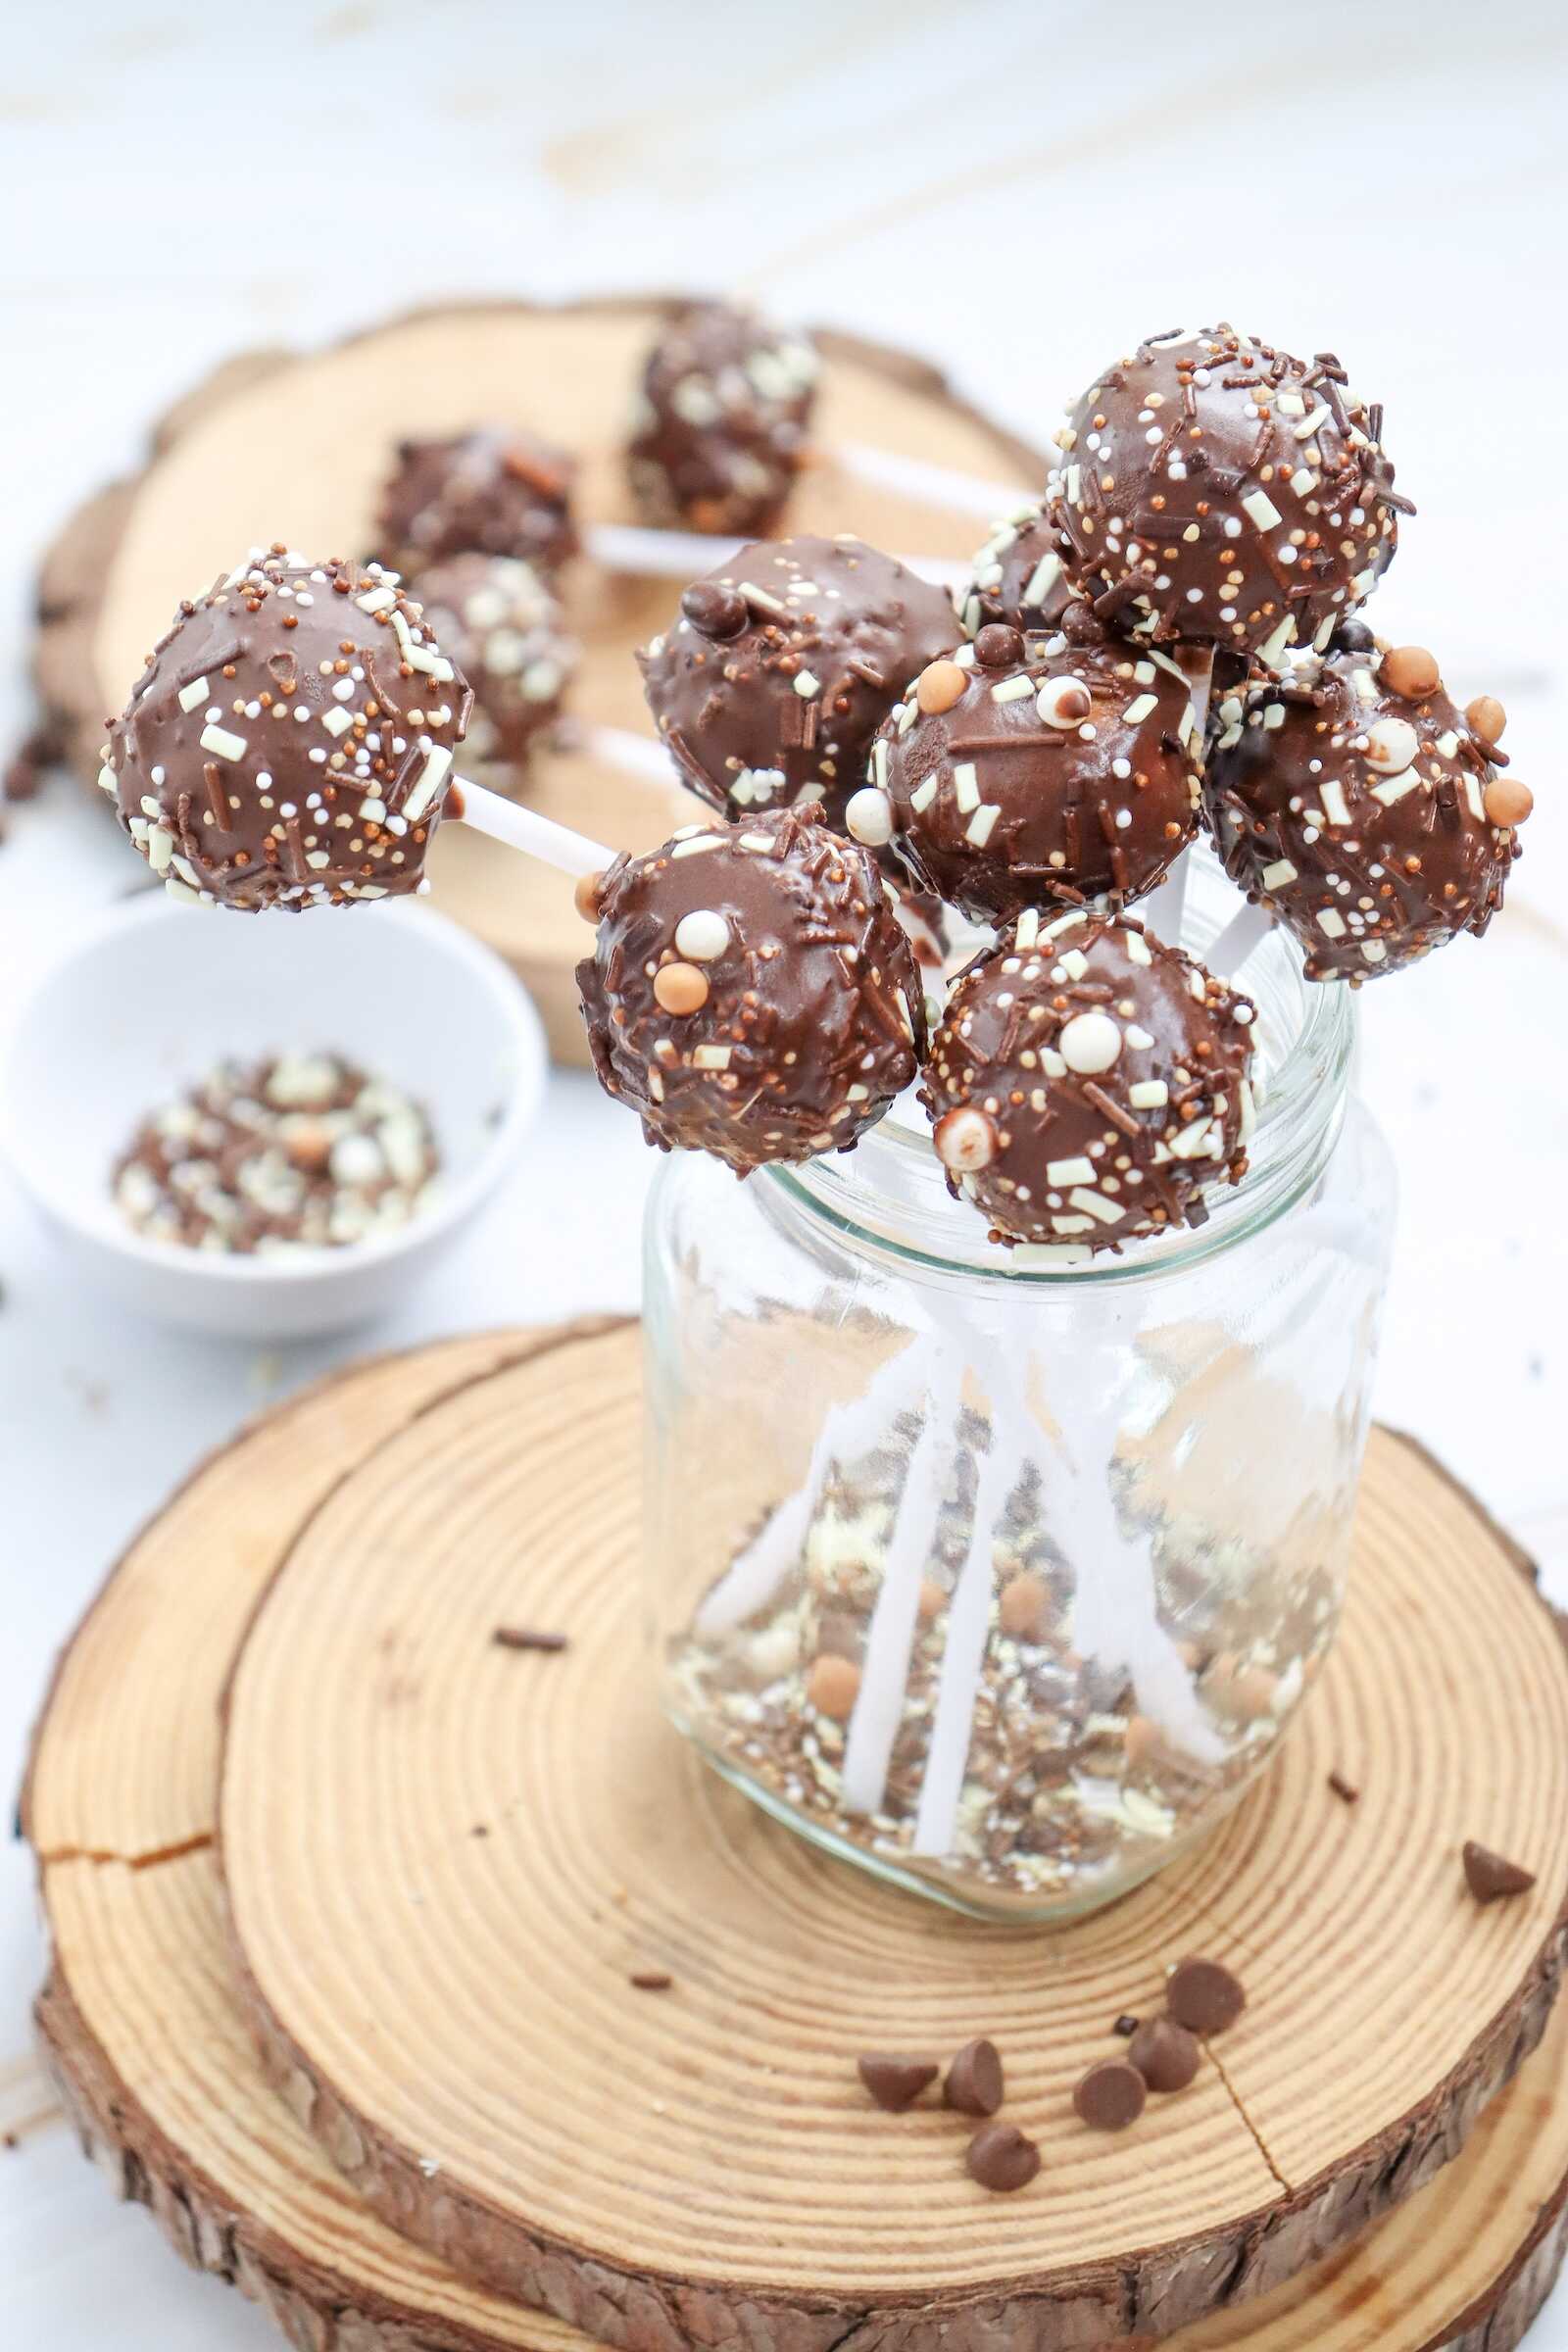
They’re adorable on dessert tables, packaged as party favors, or displayed in mason jars with ribbon. They store easily and transport well—just keep them away from heat so the chocolate doesn’t melt.
Timing Breakdown
- Baking: 30–40 minutes
- Crumbling & Mixing: 15 minutes
- Chilling: 30–60 minutes
- Melting & Dipping: 20 minutes
- Drying: 30 minutes
Total Time: Approximately 2–3 hours (including chilling)
Flavor Variations
Cake pops are incredibly versatile. Here are some delicious variations to try:
Chocolate Lovers
Use chocolate cake mix, chocolate frosting, and dip in dark or milk chocolate.
Birthday Cake Pops
Use funfetti cake mix with vanilla frosting and rainbow sprinkles.
Red Velvet
Red velvet cake + cream cheese frosting = a classic showstopper.
Mocha Cake Pops
Chocolate cake with coffee frosting, dipped in dark chocolate.
Cookies & Cream
Vanilla cake mix, crushed Oreos, and white chocolate coating.
Peppermint Holiday Pops
Chocolate cake dipped in white chocolate with crushed peppermint sprinkles.
Lemon Sunshine Cake Pops
Lemon cake mix with zesty lemon frosting dipped in white chocolate.
How to Store and Freeze Cake Pops
Room Temperature
Store fully dried cake pops in an airtight container for 3–4 days.
Refrigerator
They keep for up to 1 week when chilled.
Freezer
Freeze undecorated cake balls (before dipping) for up to 2 months.
Thaw in the fridge before dipping to prevent condensation.
How to Display Cake Pops for Parties
Cake pops are a decor piece in themselves! Try:
- A decorative cake pop stand
- Mason jars filled with sprinkles
- Floral foam buried inside a gift box
- Holiday-themed displays (mini pumpkins, ornaments, Easter grass)
- Treat bags tied with ribbon for party favors
Your dessert table instantly becomes Pinterest-worthy.
Tips for Making Cake Pops Like a Pro
1. Don’t Skip the Chill Time
Cold cake balls hold their shape far better when dipped.
2. Use Candy Melts for the Smoothest Finish
Chocolate chips work great, but candy melts give flawless coating.
3. Tap Gently to Remove Excess Chocolate
Heavy tapping can cause cake balls to fall off the stick.
4. Add Sprinkles Immediately
Chocolate sets quickly—decorate as soon as the cake pop is dipped.
5. Keep Cake Balls Uniform
Use a cookie scoop for consistency and even dipping.
Fun Ways to Customize Cake Pops for Different Holidays
🎄 Christmas Cake Pops
Red + green sprinkles
Crushed candy cane
White chocolate drizzle
🎃 Halloween Cake Pops
Orange candy melts
Black sprinkles
Monster eyes candy
💘 Valentine’s Cake Pops
Pink chocolate
Heart sprinkles
White drizzle designs
🐰 Easter Cake Pops
Pastel sprinkles
White chocolate coating
Mini egg accents
🎂 Birthday Cake Pops
Rainbow jimmies
Funfetti cake
Colorful ribbons
Frequently Asked Questions
Can I use homemade cake instead of boxed mix?
Absolutely! Just make sure it’s fully cooled before crumbling.
My cake pops are cracking—why?
They may be too cold when dipped. Let chilled cake balls sit at room temperature for 5 minutes before dipping.
Why does my chocolate coating look too thick?
Add a tiny bit of coconut oil or shortening to thin it.
Can I use store-bought cake balls to save time?
Yes! Skip to step 6 and dip away.
Final Thoughts
Chocolate and Sprinkles Cake Pops are one of the happiest, most charming desserts you can make. With just a few pantry staples and a handful of sprinkles, you can create a treat that looks bakery-level but is completely homemade. Whether you’re prepping for a party or baking a special surprise for your kids, these cake pops are always a hit.
Customize them, decorate them, package them for gifts, or enjoy them right away—they’re easy, joyful, and endlessly delicious.
If you end up making this recipe, don’t forget to share your creations! Your sprinkle combinations and cake-flavor choices bring these cake pops to life in the most creative ways.

5 Comments